Set up your Smart Refill Wallet
An owner as well as admins of an organisation can set up Smart Refill Wallet for a cold multisig wallet in Liminal Vaults. Members of the organisation only have the view access to Smart Refill Wallet under the Wallets > Refills tab, if they’re added to the cold multisig wallet as a viewer.
As an owner or admin of your organisation, take the following steps to set up your Smart Refill Wallet.
Step 1: Schedule a refill
You can create a refill schedule to automate refill transactions to your withdrawal wallets. As an owner or admin, you can set up your Refill Wallet from your multisig wallets in Liminal Vaults.
Take the following steps to create a refill schedule.
- Log into Vaults.
- Go to Wallets.
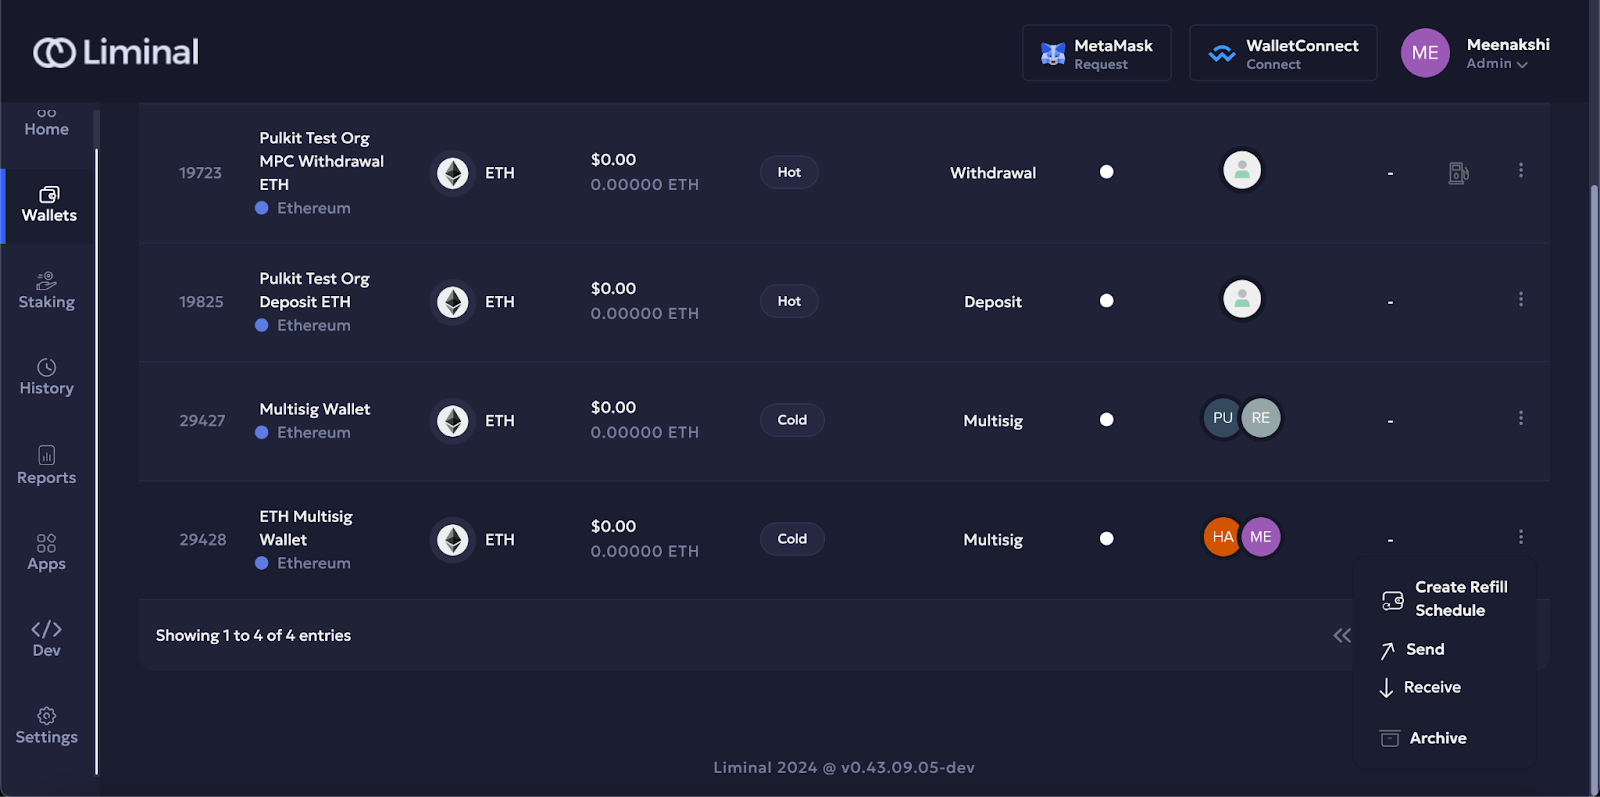
- Select the three dots for the desired multisig wallet, then select Create Refill Schedule.
- Enter the following details to the refill schedule:
- Assets - Select the specific asset you want to send in your Smart Refill transfers.
- Destination Address - Select the destination address of the withdrawal wallet to which the Smart Refill transactions will be sent.
- Number of Refills - This is the total number of refill transactions that will be executed according to your Smart Refill schedule. It indicates how many refill transactions you want to run in total.
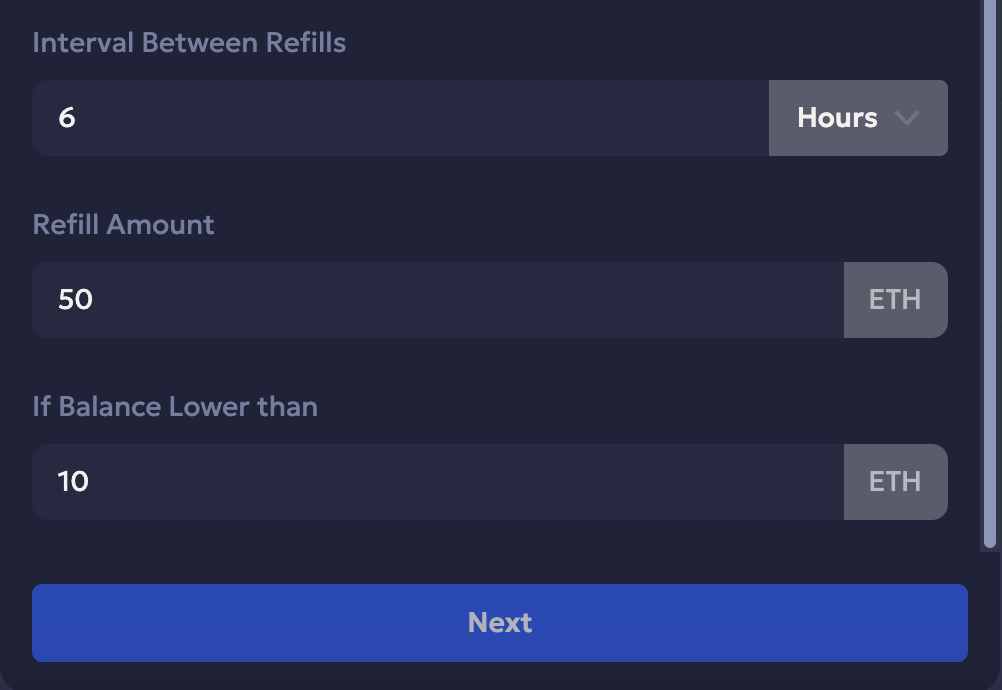
- Interval Between Refills - Configure the time interval for your refill schedule in hours or days. This setting acts as a cooldown period to ensure that there are no other refill transactions within the specified interval after initiating a refill transaction, preventing overloading the destination address.
- Refill Amount - Specify the amount you want to transfer in each refill transaction.
- If Balance Lower Than - Enter a balance threshold for the destination withdrawal wallet. When the balance of this wallet falls below the specified threshold, it triggers a refill transaction. This way you can maintain the required minimum balance in your withdrawal wallet.

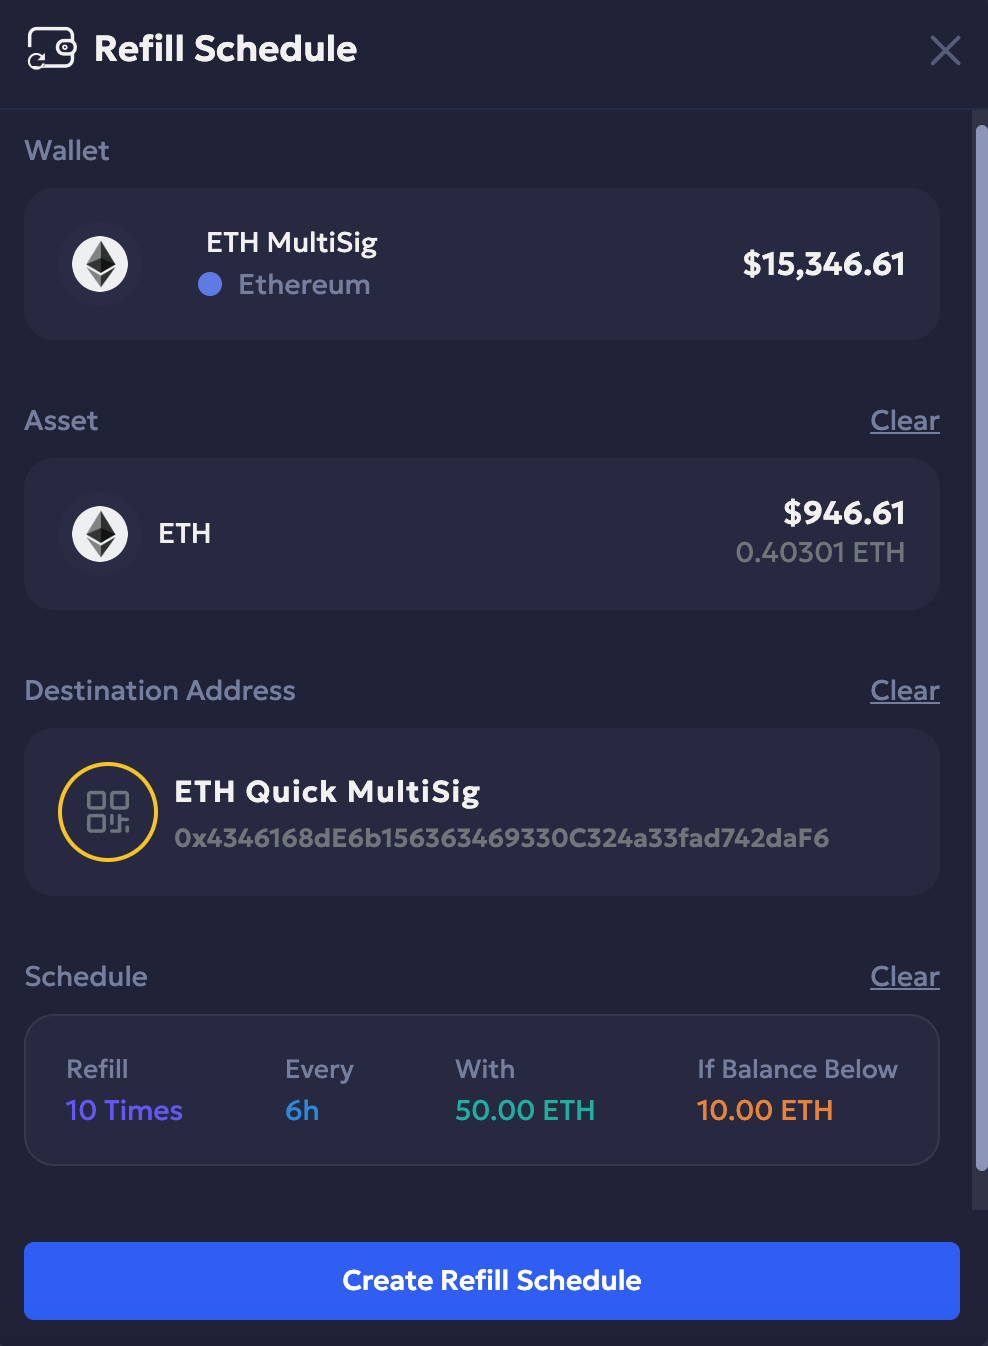
- Review your changes.
- Select Create Refill Schedule to confirm.
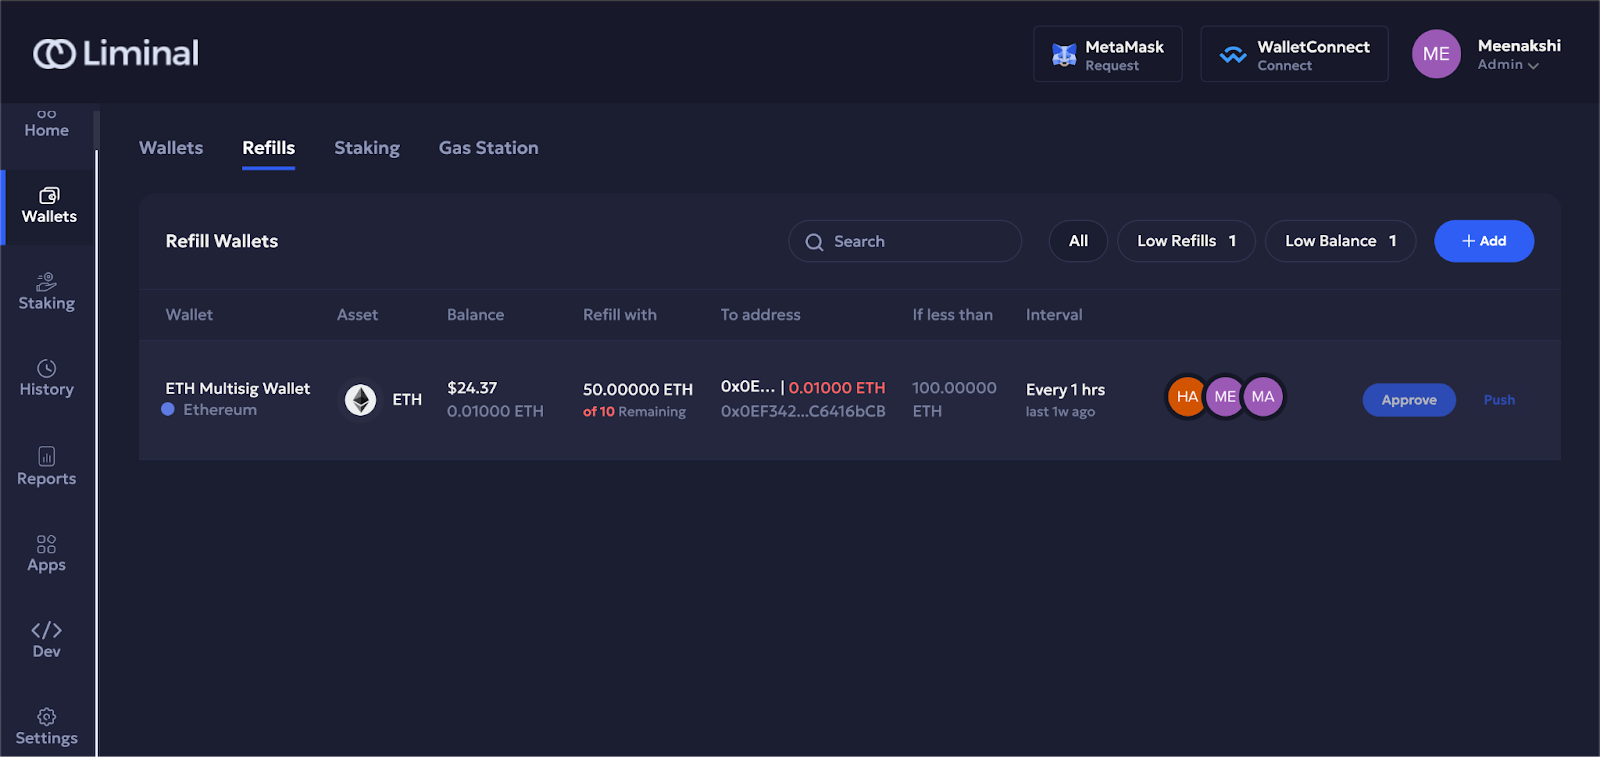
Once created, you can view your Refill Wallet in Wallets > Refills.
The refill schedule requires approvals from the quorum of signers configured for the multisig wallet. The signers can refer to the Sign refill schedule guide to learn how to approve and sign a refill schedule.
Step 2: Sign refill schedule
The refill transactions set up in the refill schedule configuration only requires approvals and signatures once at the time of creating the schedule. These transactions will be automatically executed when the specified trigger conditions are met. As a signer of the multisig wallet from which the refill schedule is created, take the following steps to approve and sign a Refill Schedule.
- Log into Vaults.
- Go to Wallets.
- Go to the Refills tab. Select Approve corresponding to a wallet to approve and sign the Refill Wallet.
- Enter the code in the field you received in the Google Authenticator mobile app against the credentials with which you have signed into Vaults.
- Select Continue to authenticate yourself.
- Select Approve to approve and sign.