Whitelist an address
For enhanced security, destination addresses must be whitelisted in a wallet before initiating a transaction. Only a list of whitelisted addresses will be available in the destination address dropdown while creating transaction requests.
Note:
- Hot Withdrawal wallets don't support whitelisting policy.
As an owner or admin of your organisation, take the following steps to whitelist an address.
- Log into Vaults.
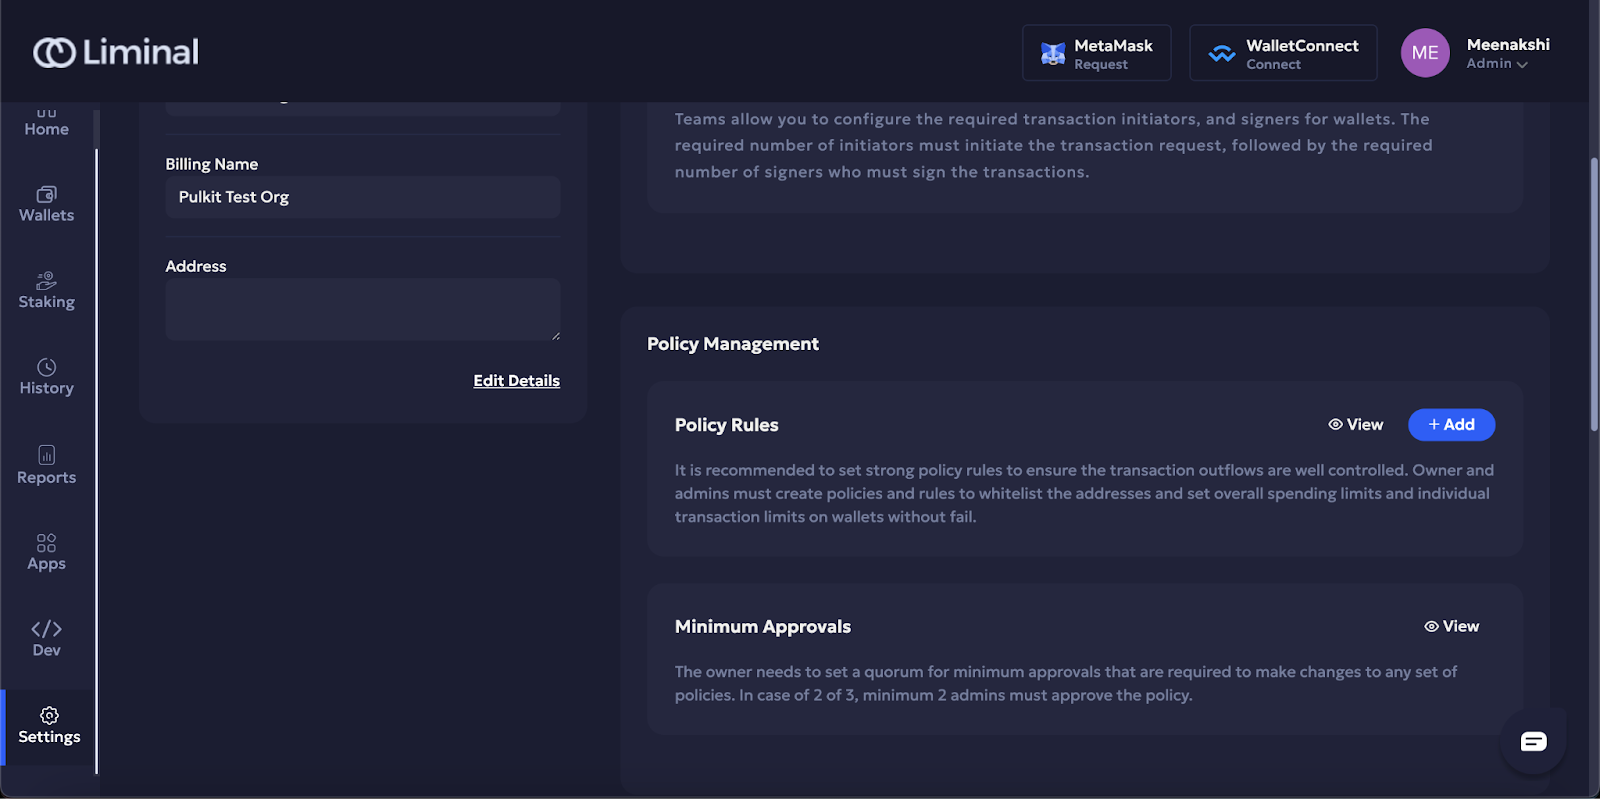
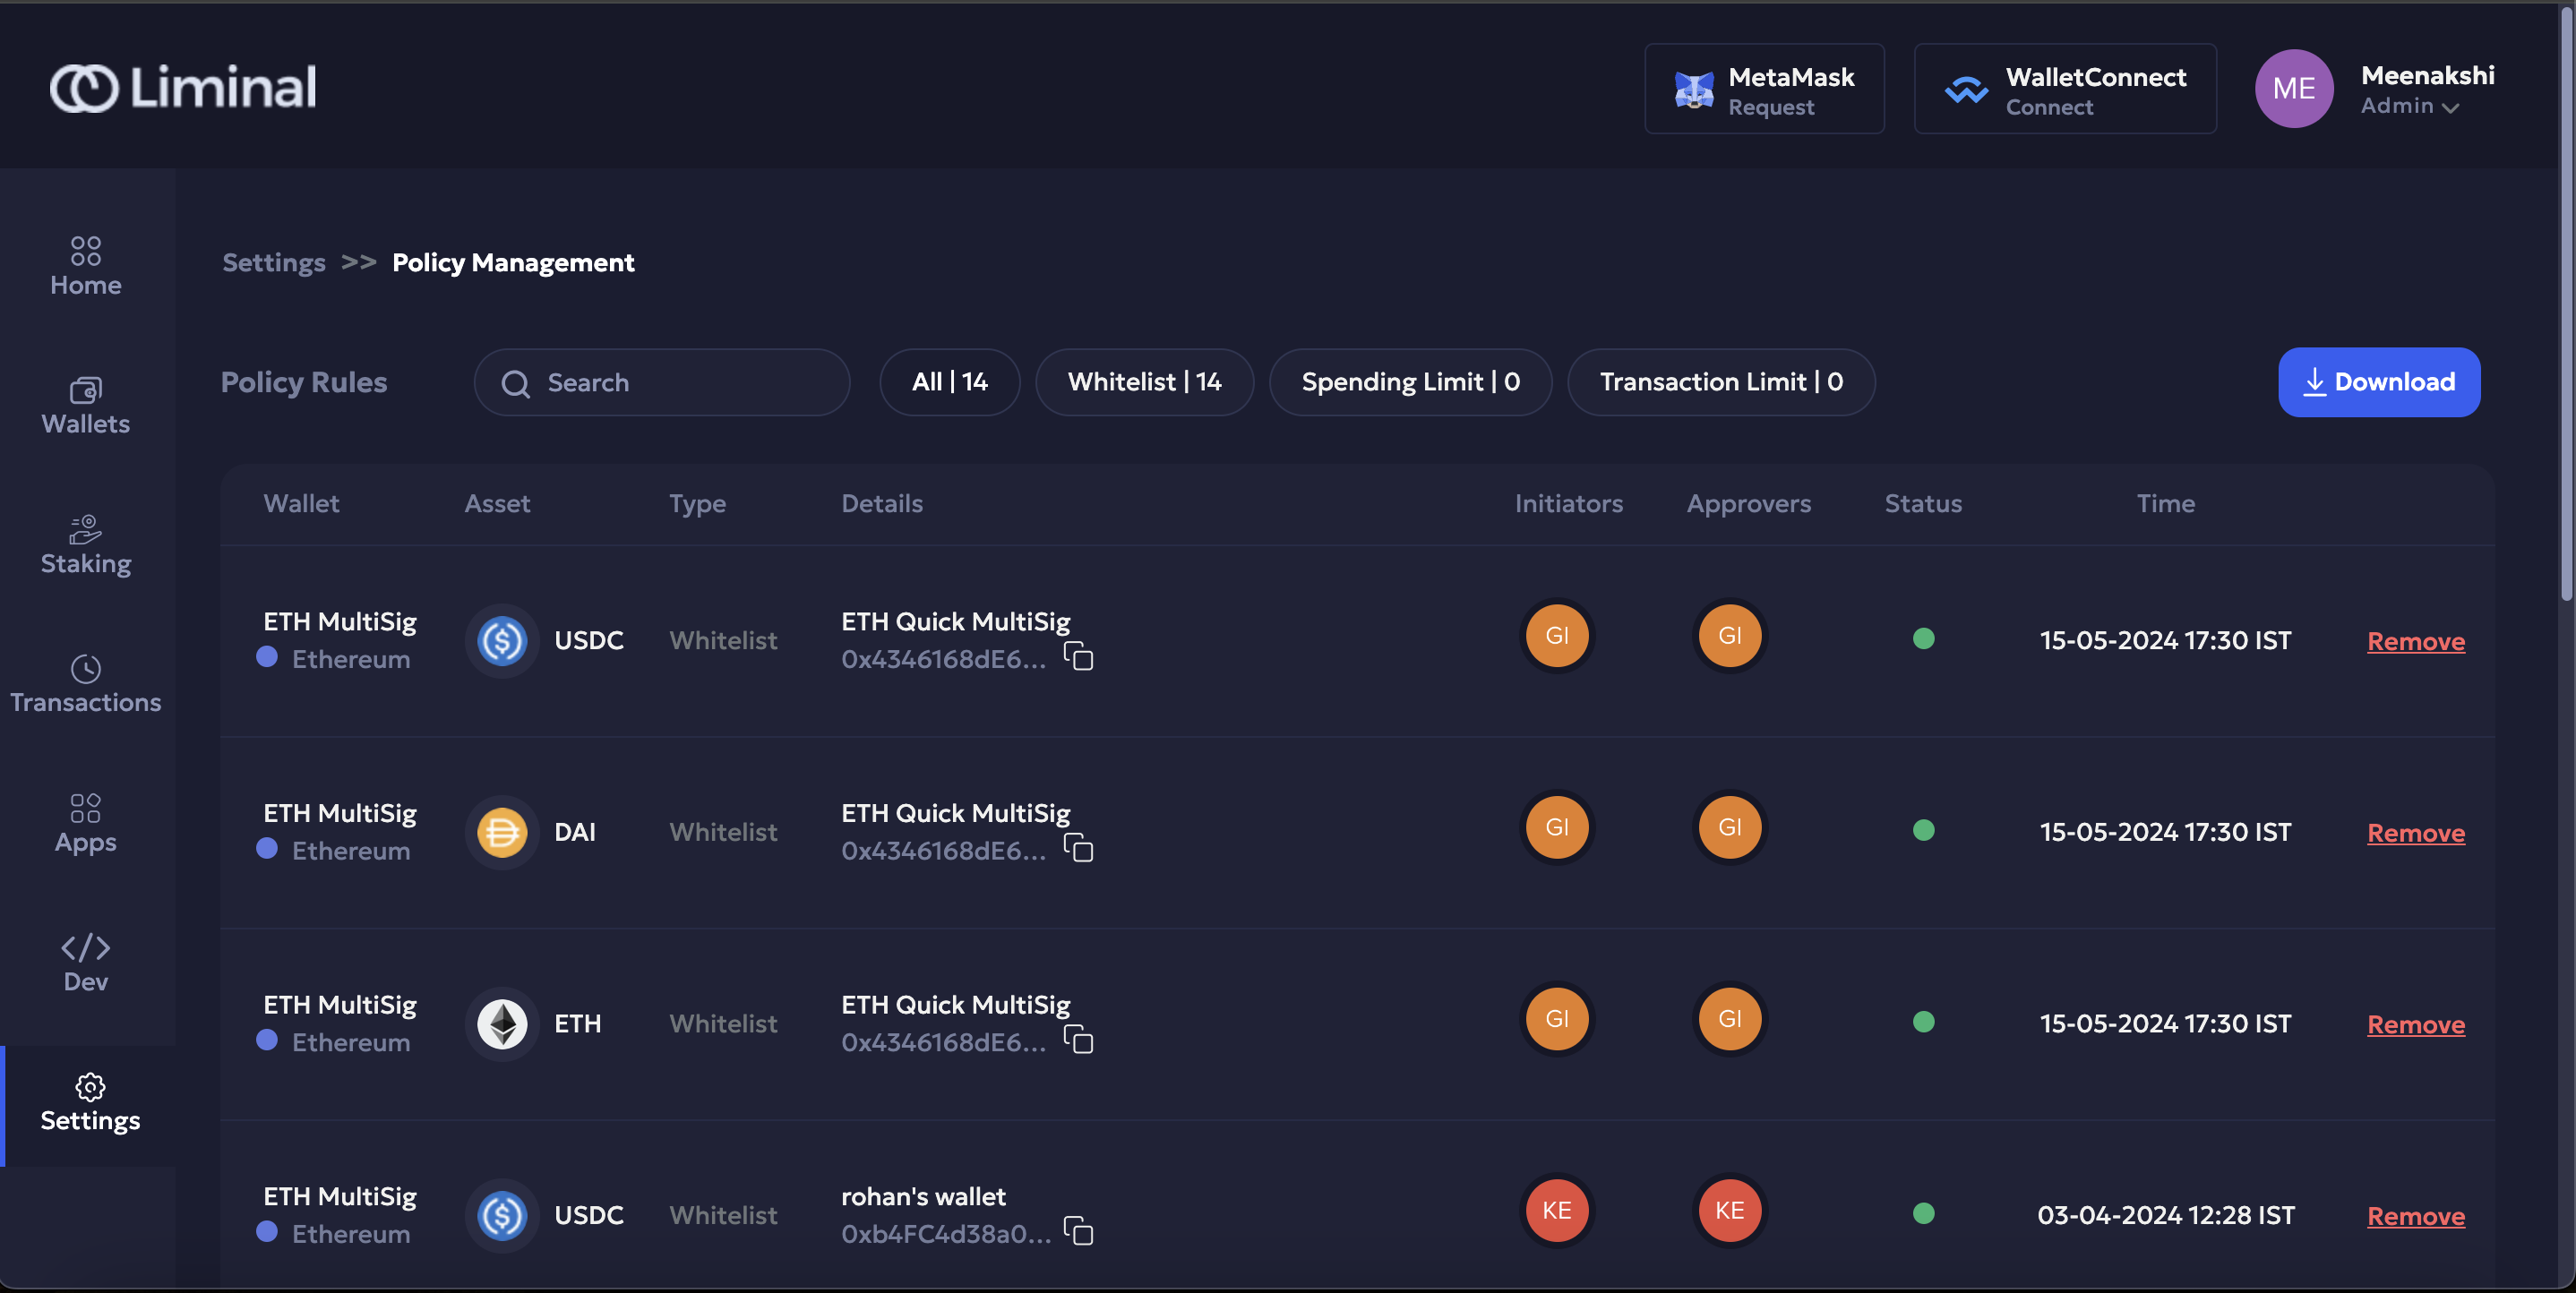
- Go to Settings > Policy Management > Policy Rules.
- Select +Add next to View, as shown in the following screenshot.
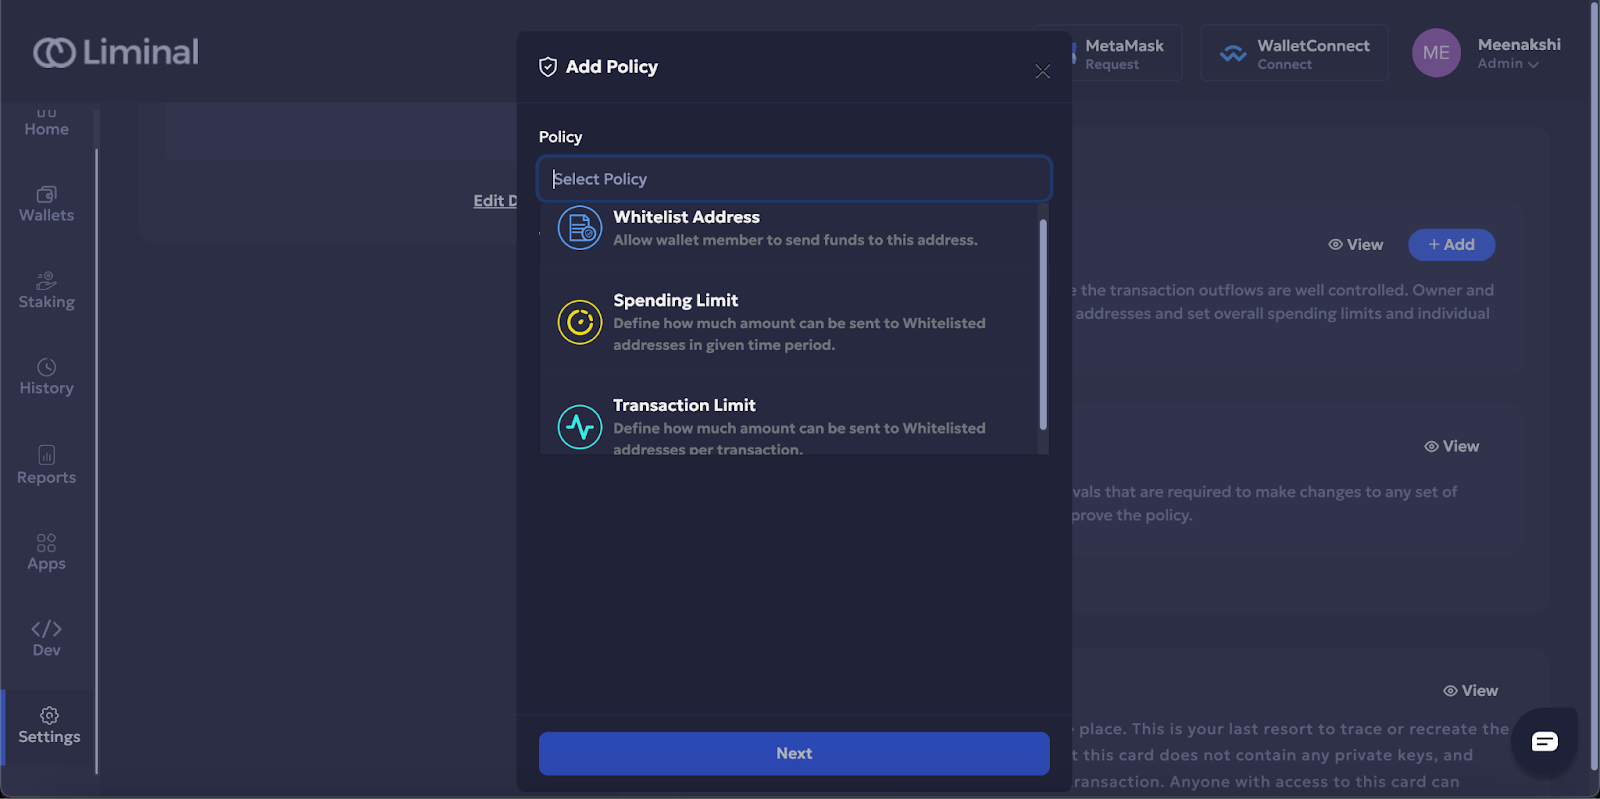
- In the Policy field, select Whitelist Address from the dropdown.
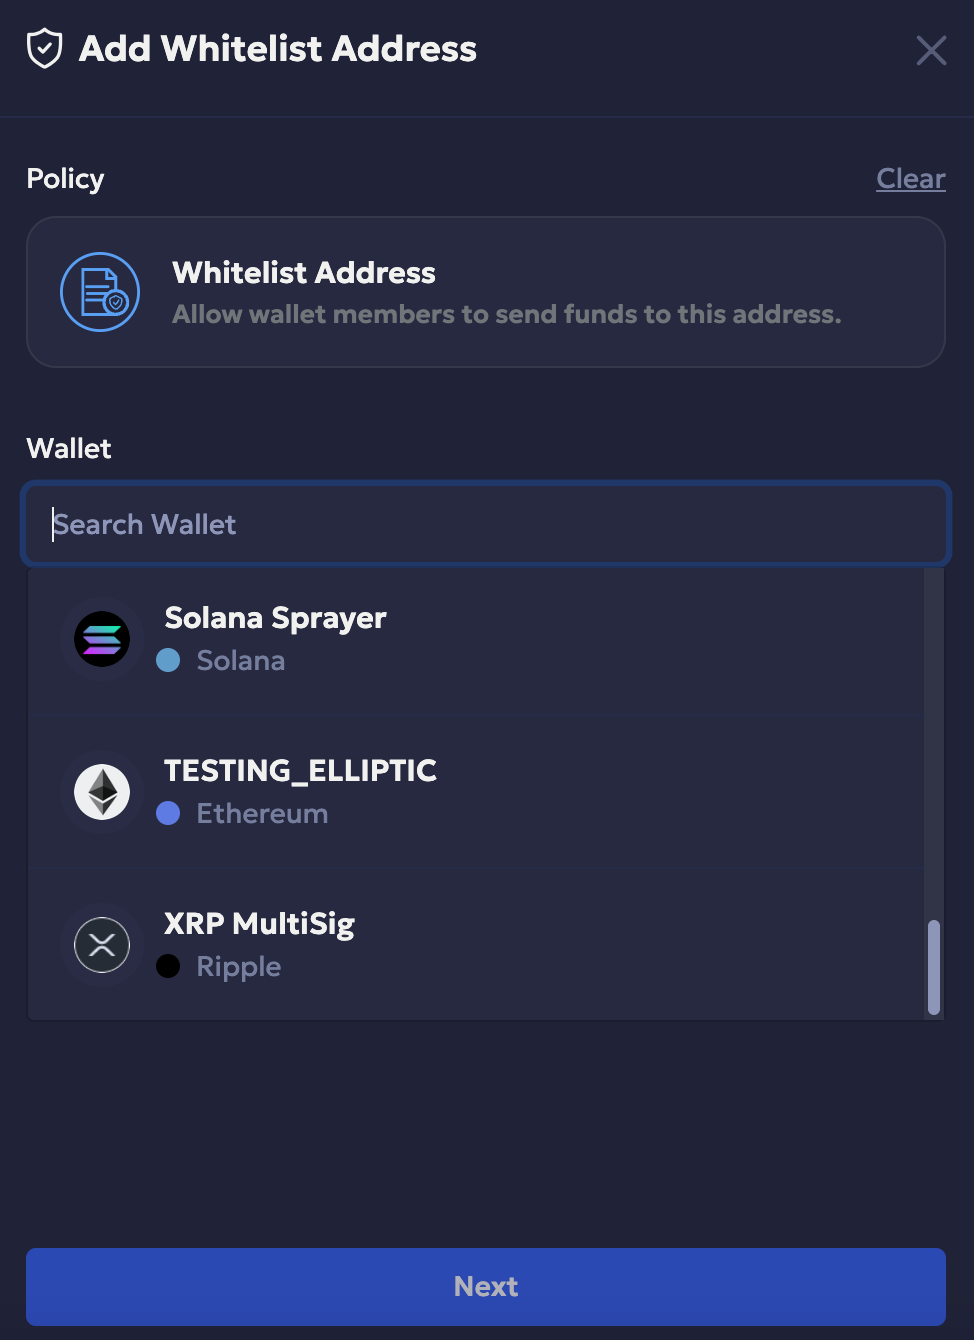
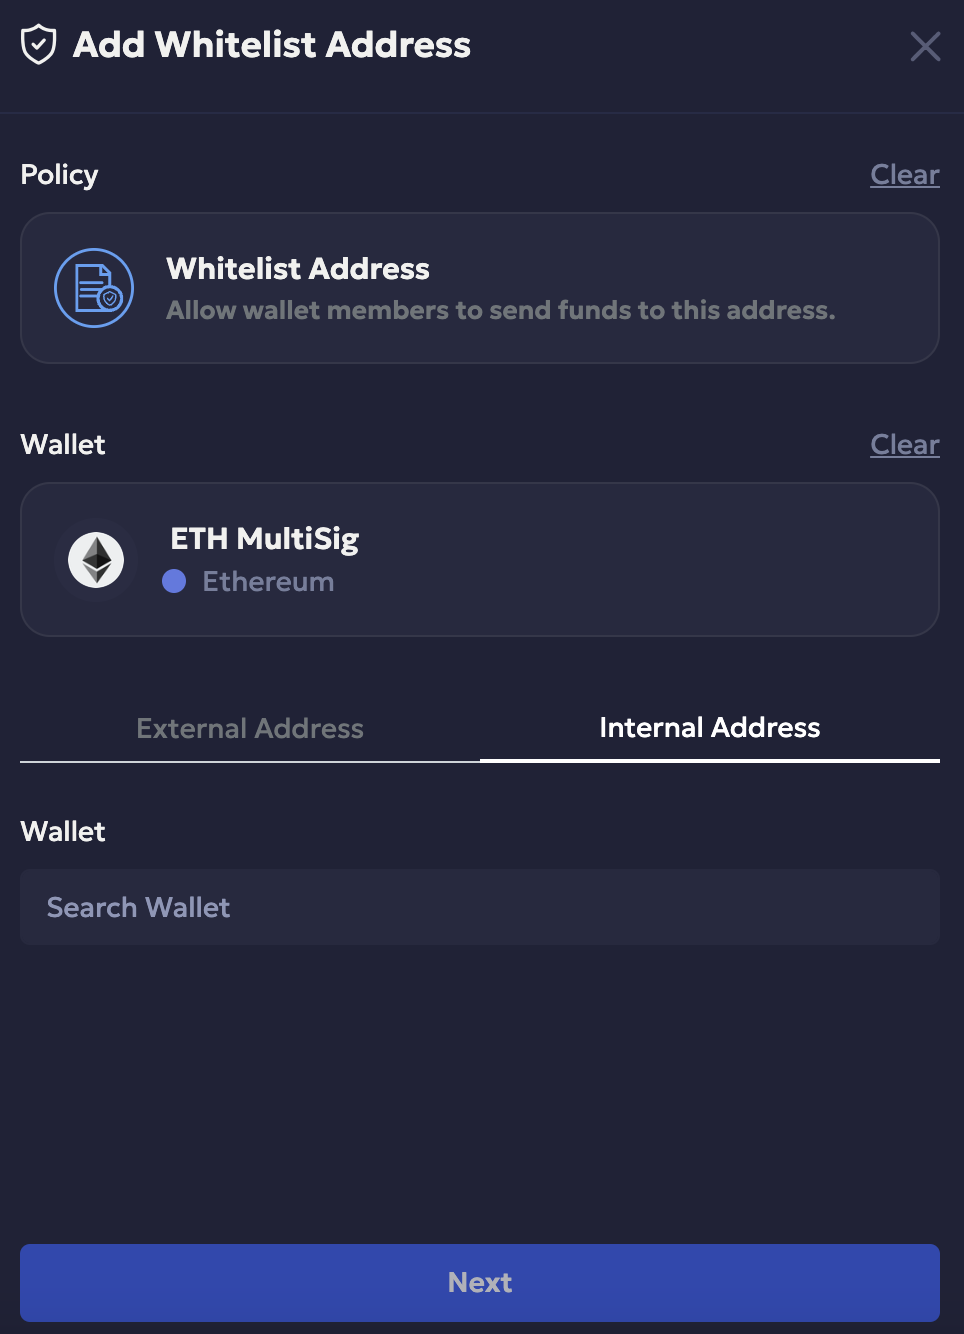
- In the Wallet field, select a wallet from the dropdown.
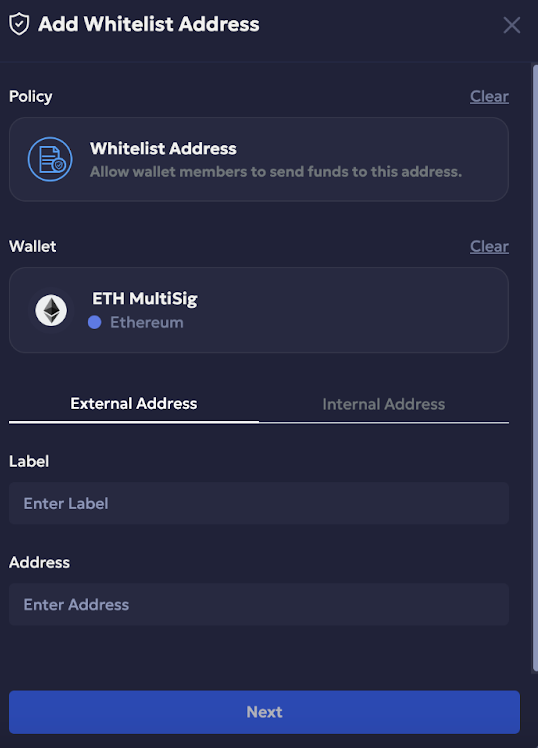
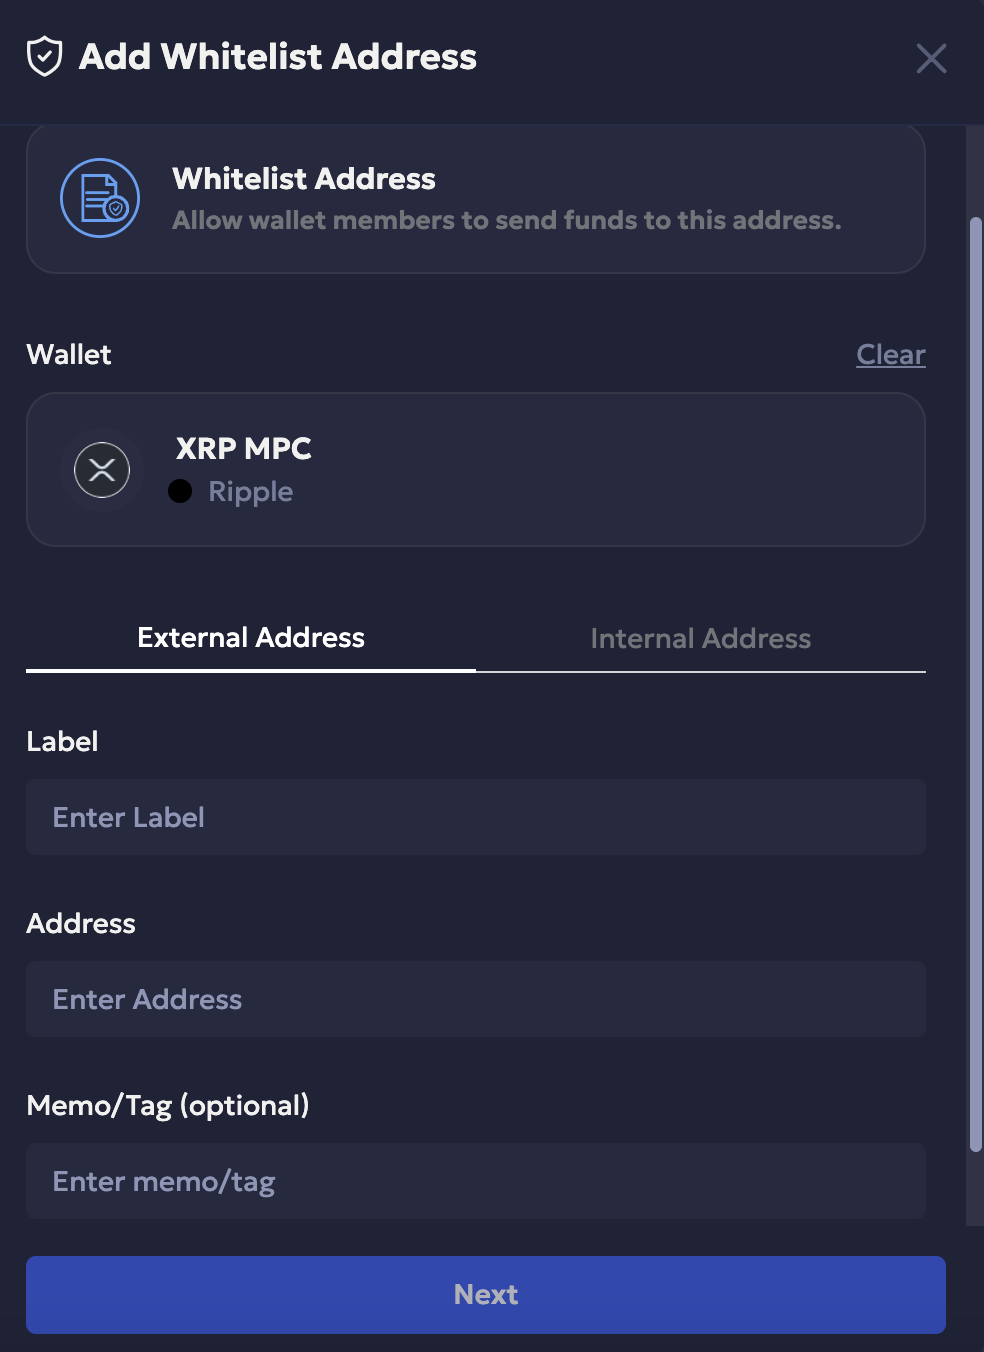
- Select if the wallet is an External Address or Internal Address.
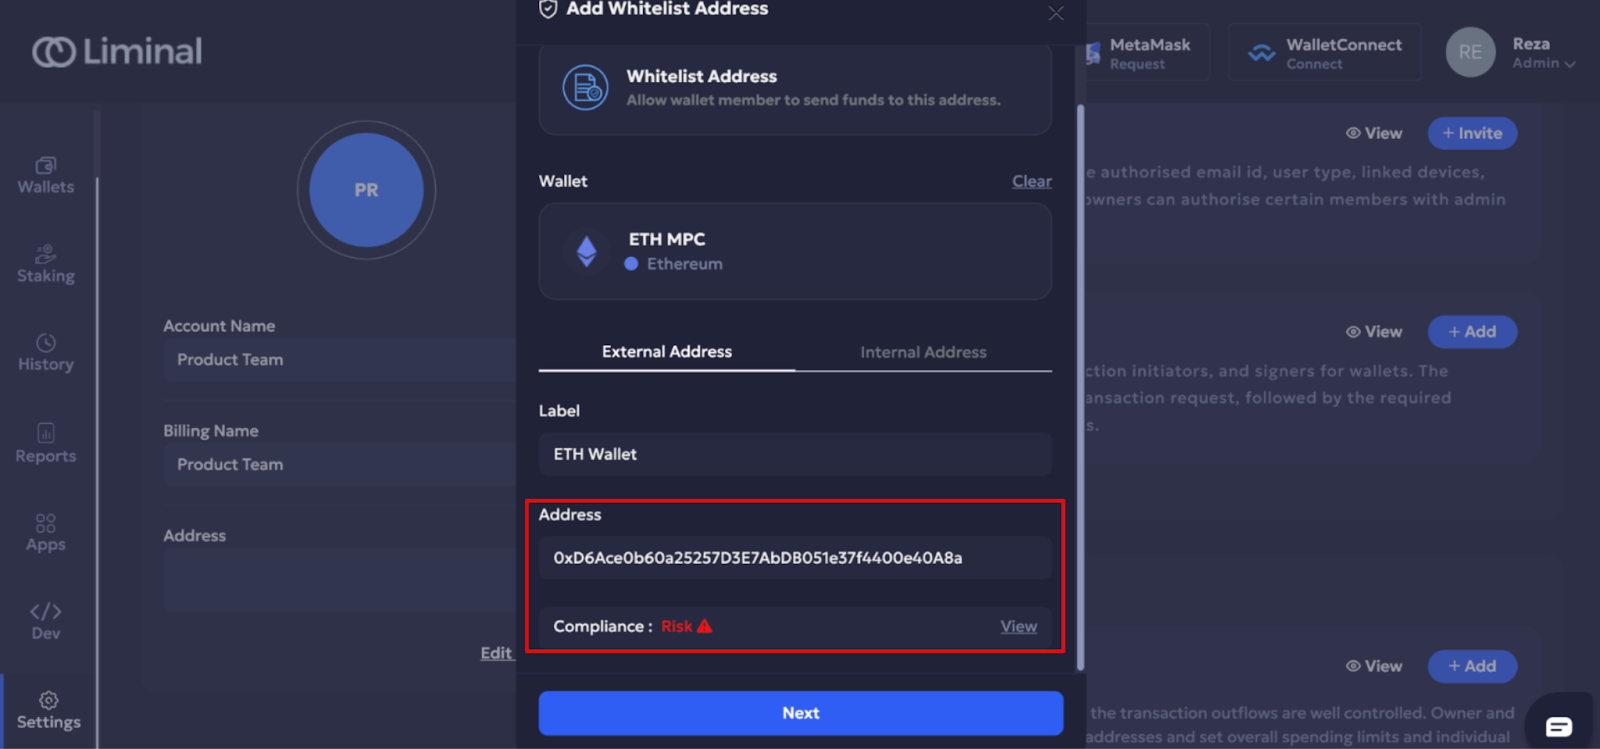
- If you selected External Address, provide a name in the Label field for the wallet's unique identification. Enter the wallet address in the Address field, as shown in the following screenshot.
- If you selected Internal Address, select a wallet from the available wallets in your organisation.
Note
- For chains like Stellar (XLM), Ripple (XRP), and Cosmos (ATOM), if you want to transfer funds to a destination wallet by providing the memo or tag value in the request body of the Create transaction requests API, ensure to add value in the Memo/Tag field at the time of whitelisting the wallet address.
Information ( Compliance Screening)
- After selecting an address, you can view the compliance risk of the address (If you have enabled TRM Labs from the app section)
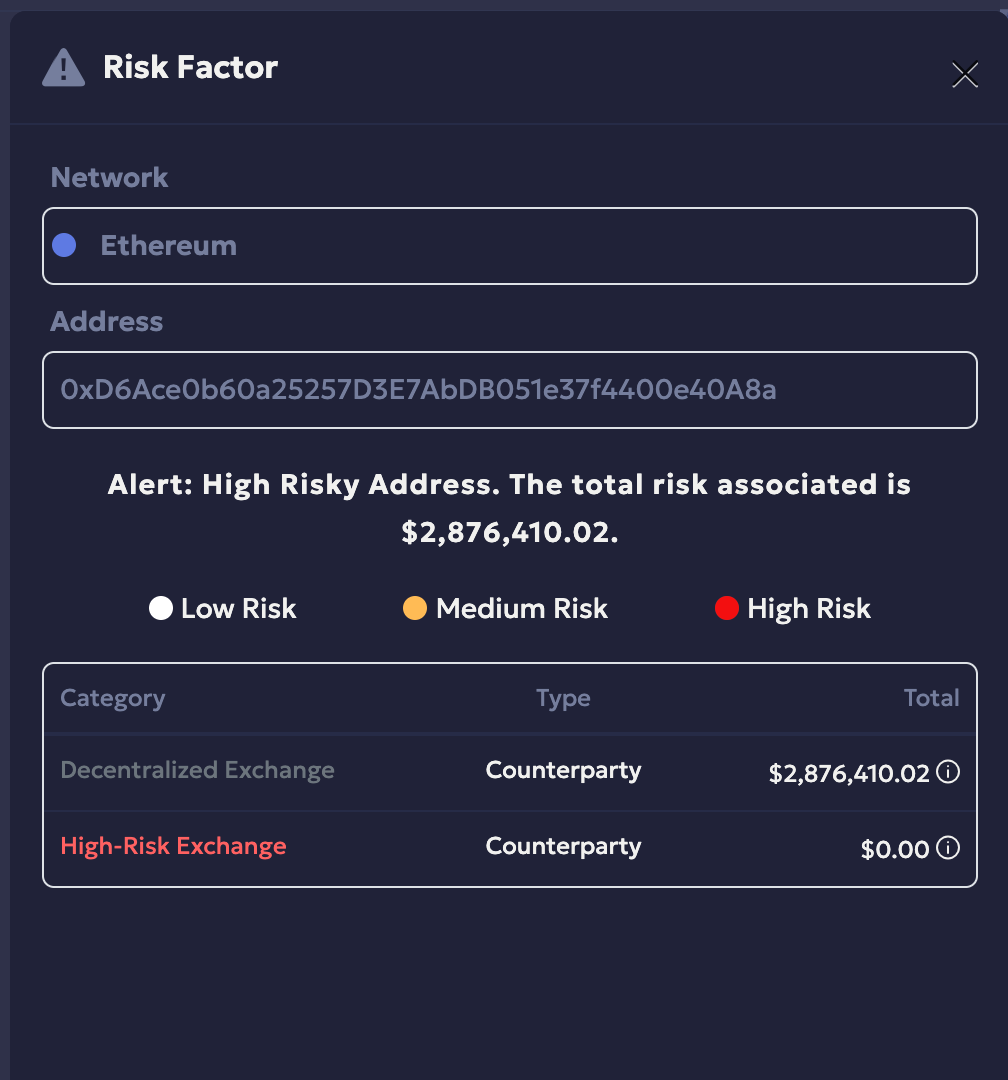
Select View to view the risk score, as shown in the following screenshot.
This risk factor only informs you about the associated risk with the address and does not prevent you from adding it.
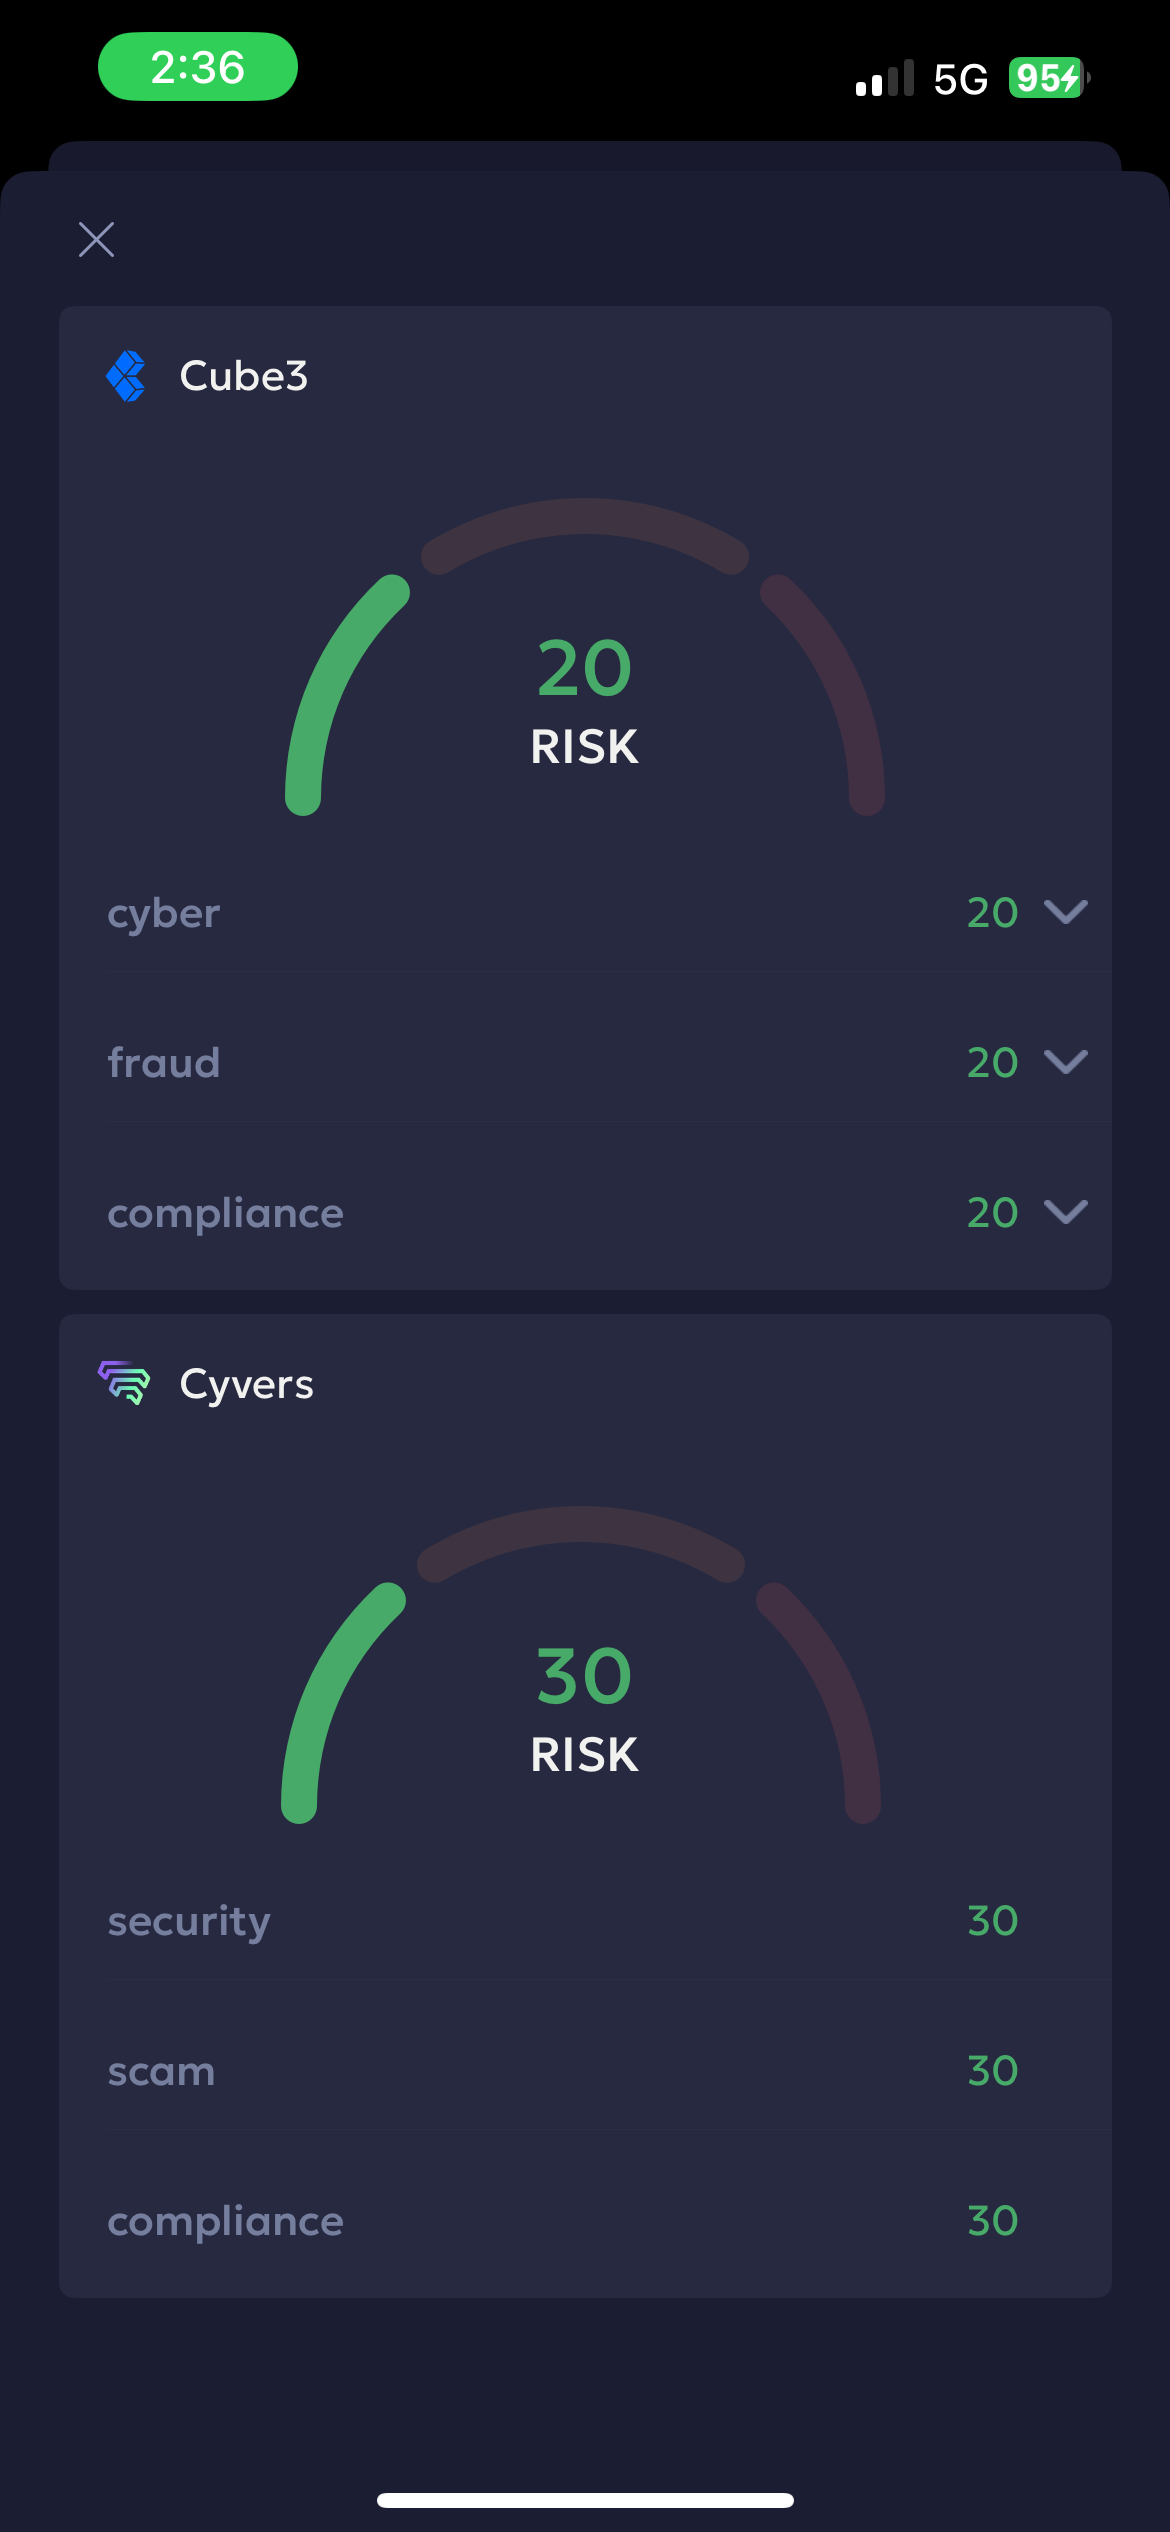
Information ( Security Screening)
- Scroll down to view the security risk score of the address. This address screening is powered by Cube3 and Cyvers and is enabled by default.
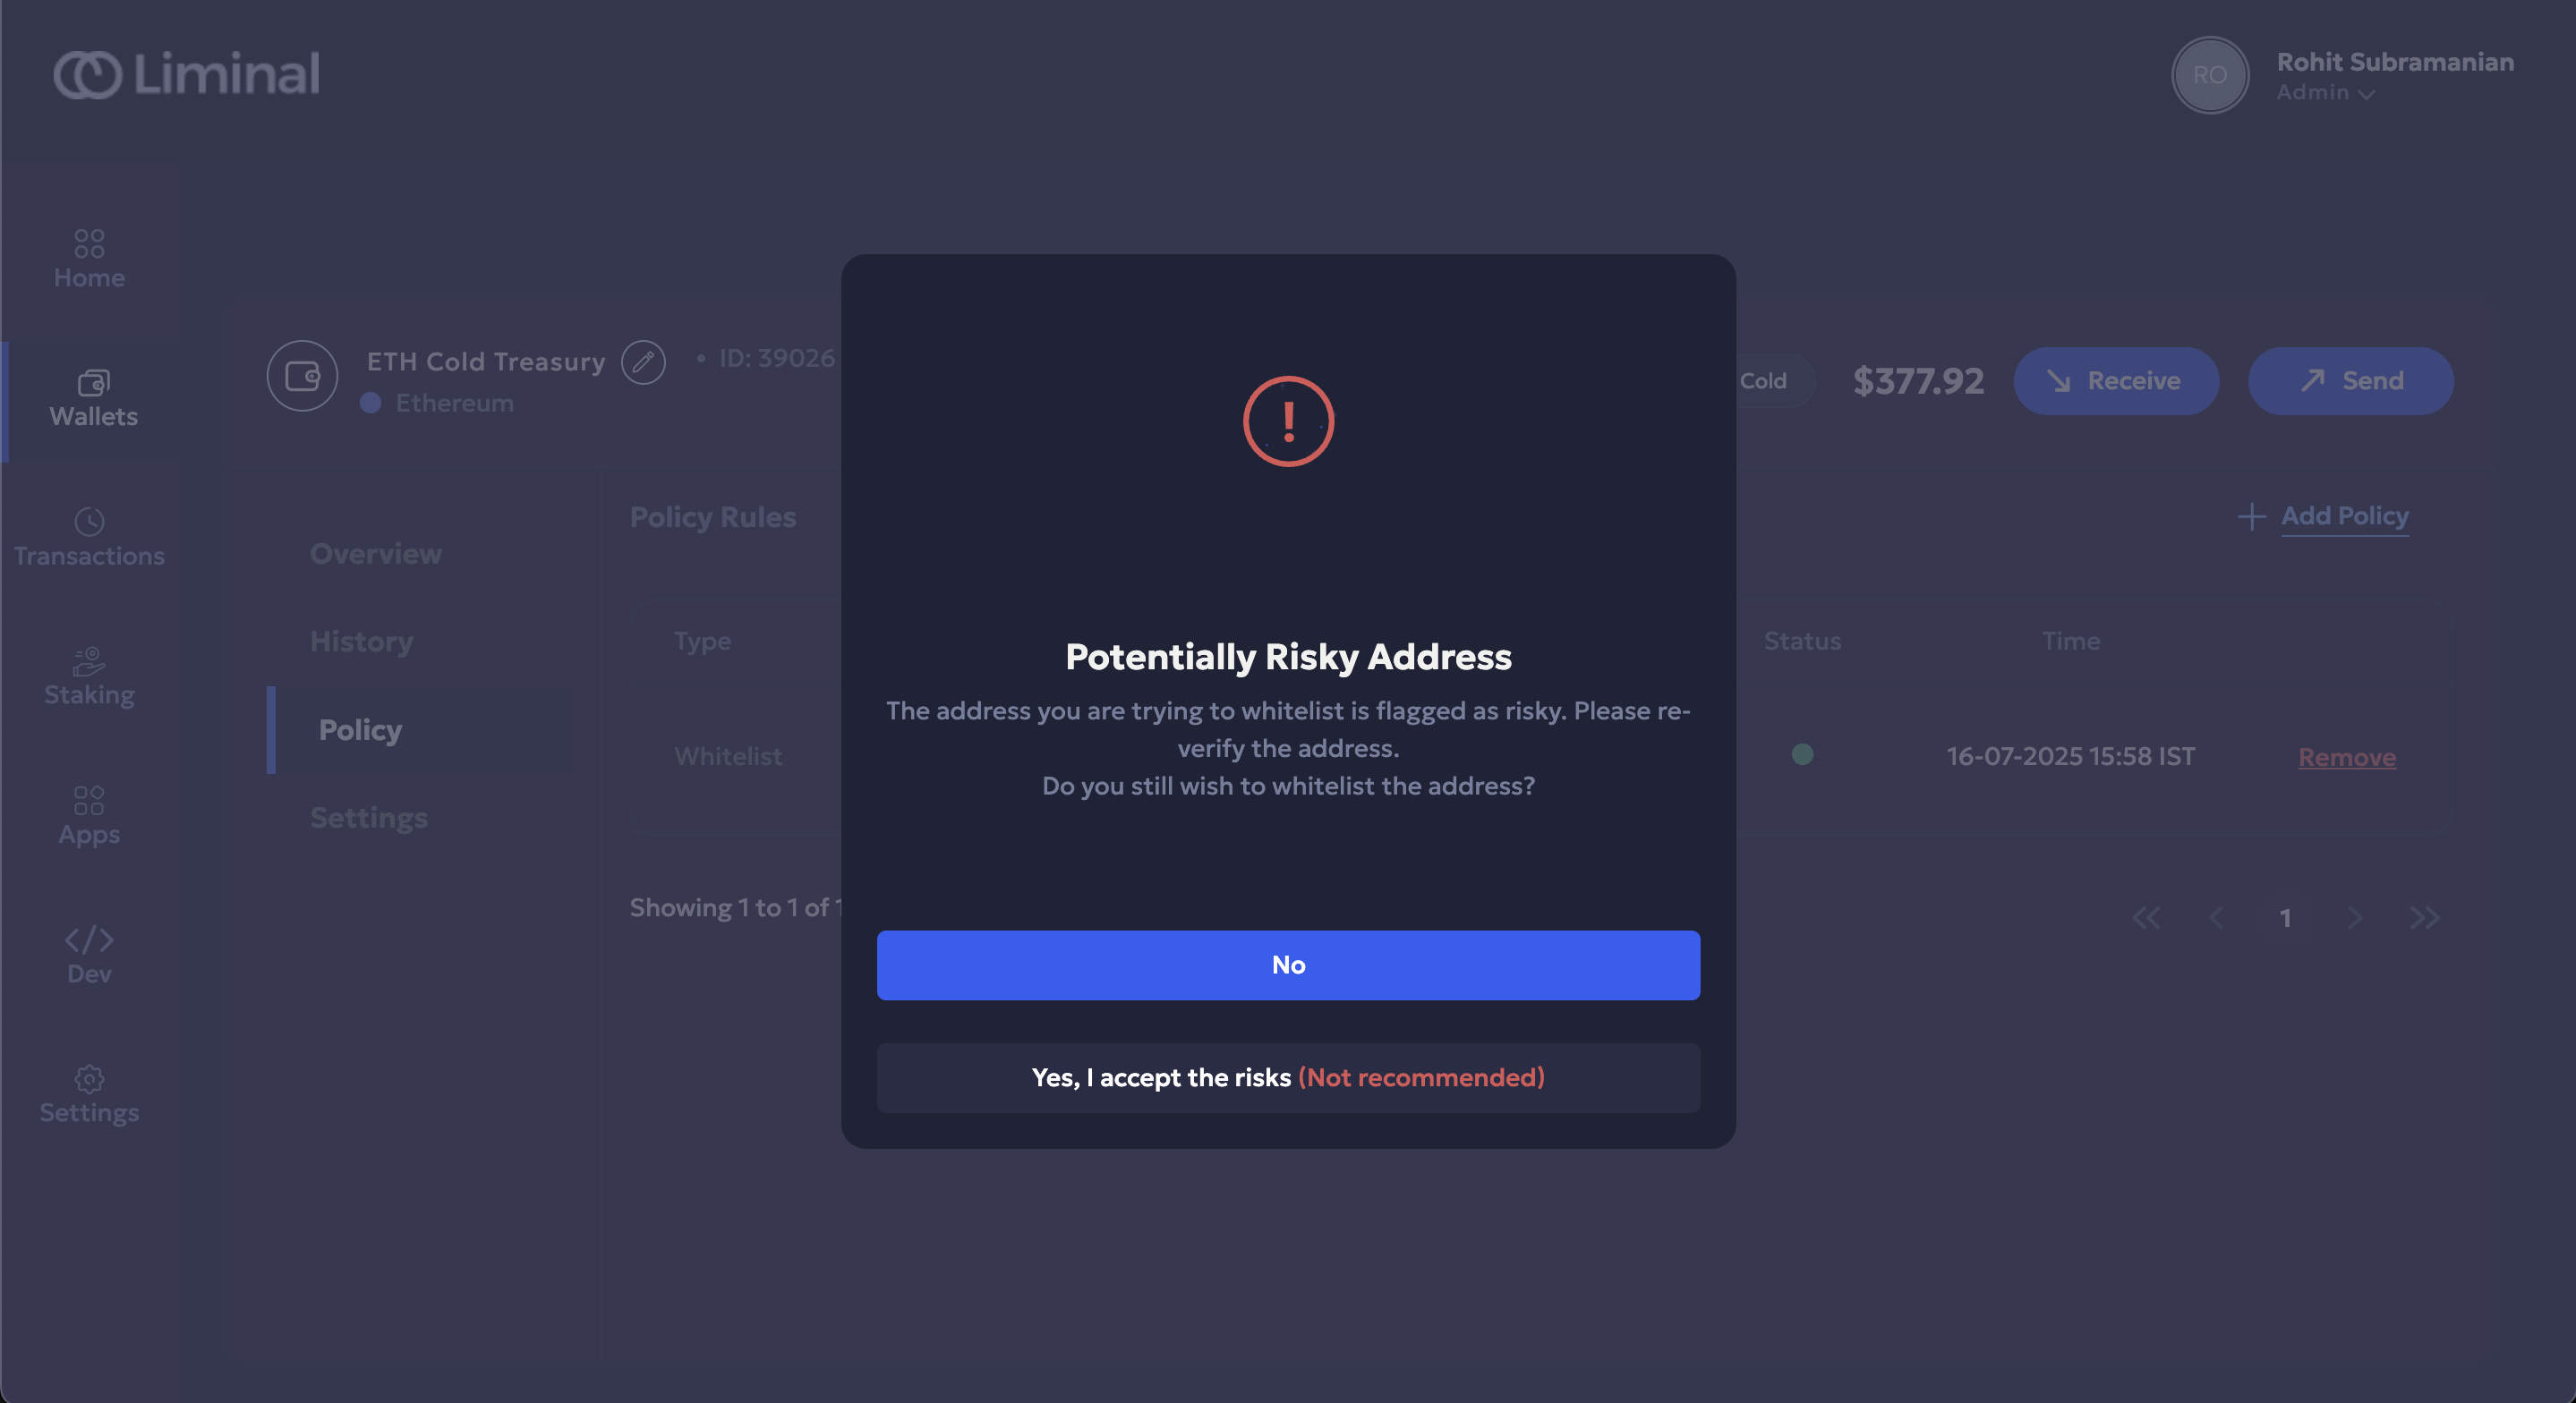
Depending on your address screening settings for warm MPC and cold Multisig wallets, you will receive a warning or your whitelisting could be blocked.
In this case, the settings are Medium Risk : Warn , Cricital and High Risk: Block.
You will receive a warning in case of medium risk. You can still proceed to whitelist in case of a warning. However, if the risk is critical you will not be able to proceed.
Note: In case you feel the address is a false positive, reach out to our support team and we will review the address and get back to you within 4 hours.

- Select Next to save the changes
- Select Approve to approve your changes.
- Enter the unique code for two-factor authentication.
- Select Continue to authenticate yourself.
After whitelisting your wallet address, you can view a list of all whitelisted addresses in Settings > Policy Management > View.
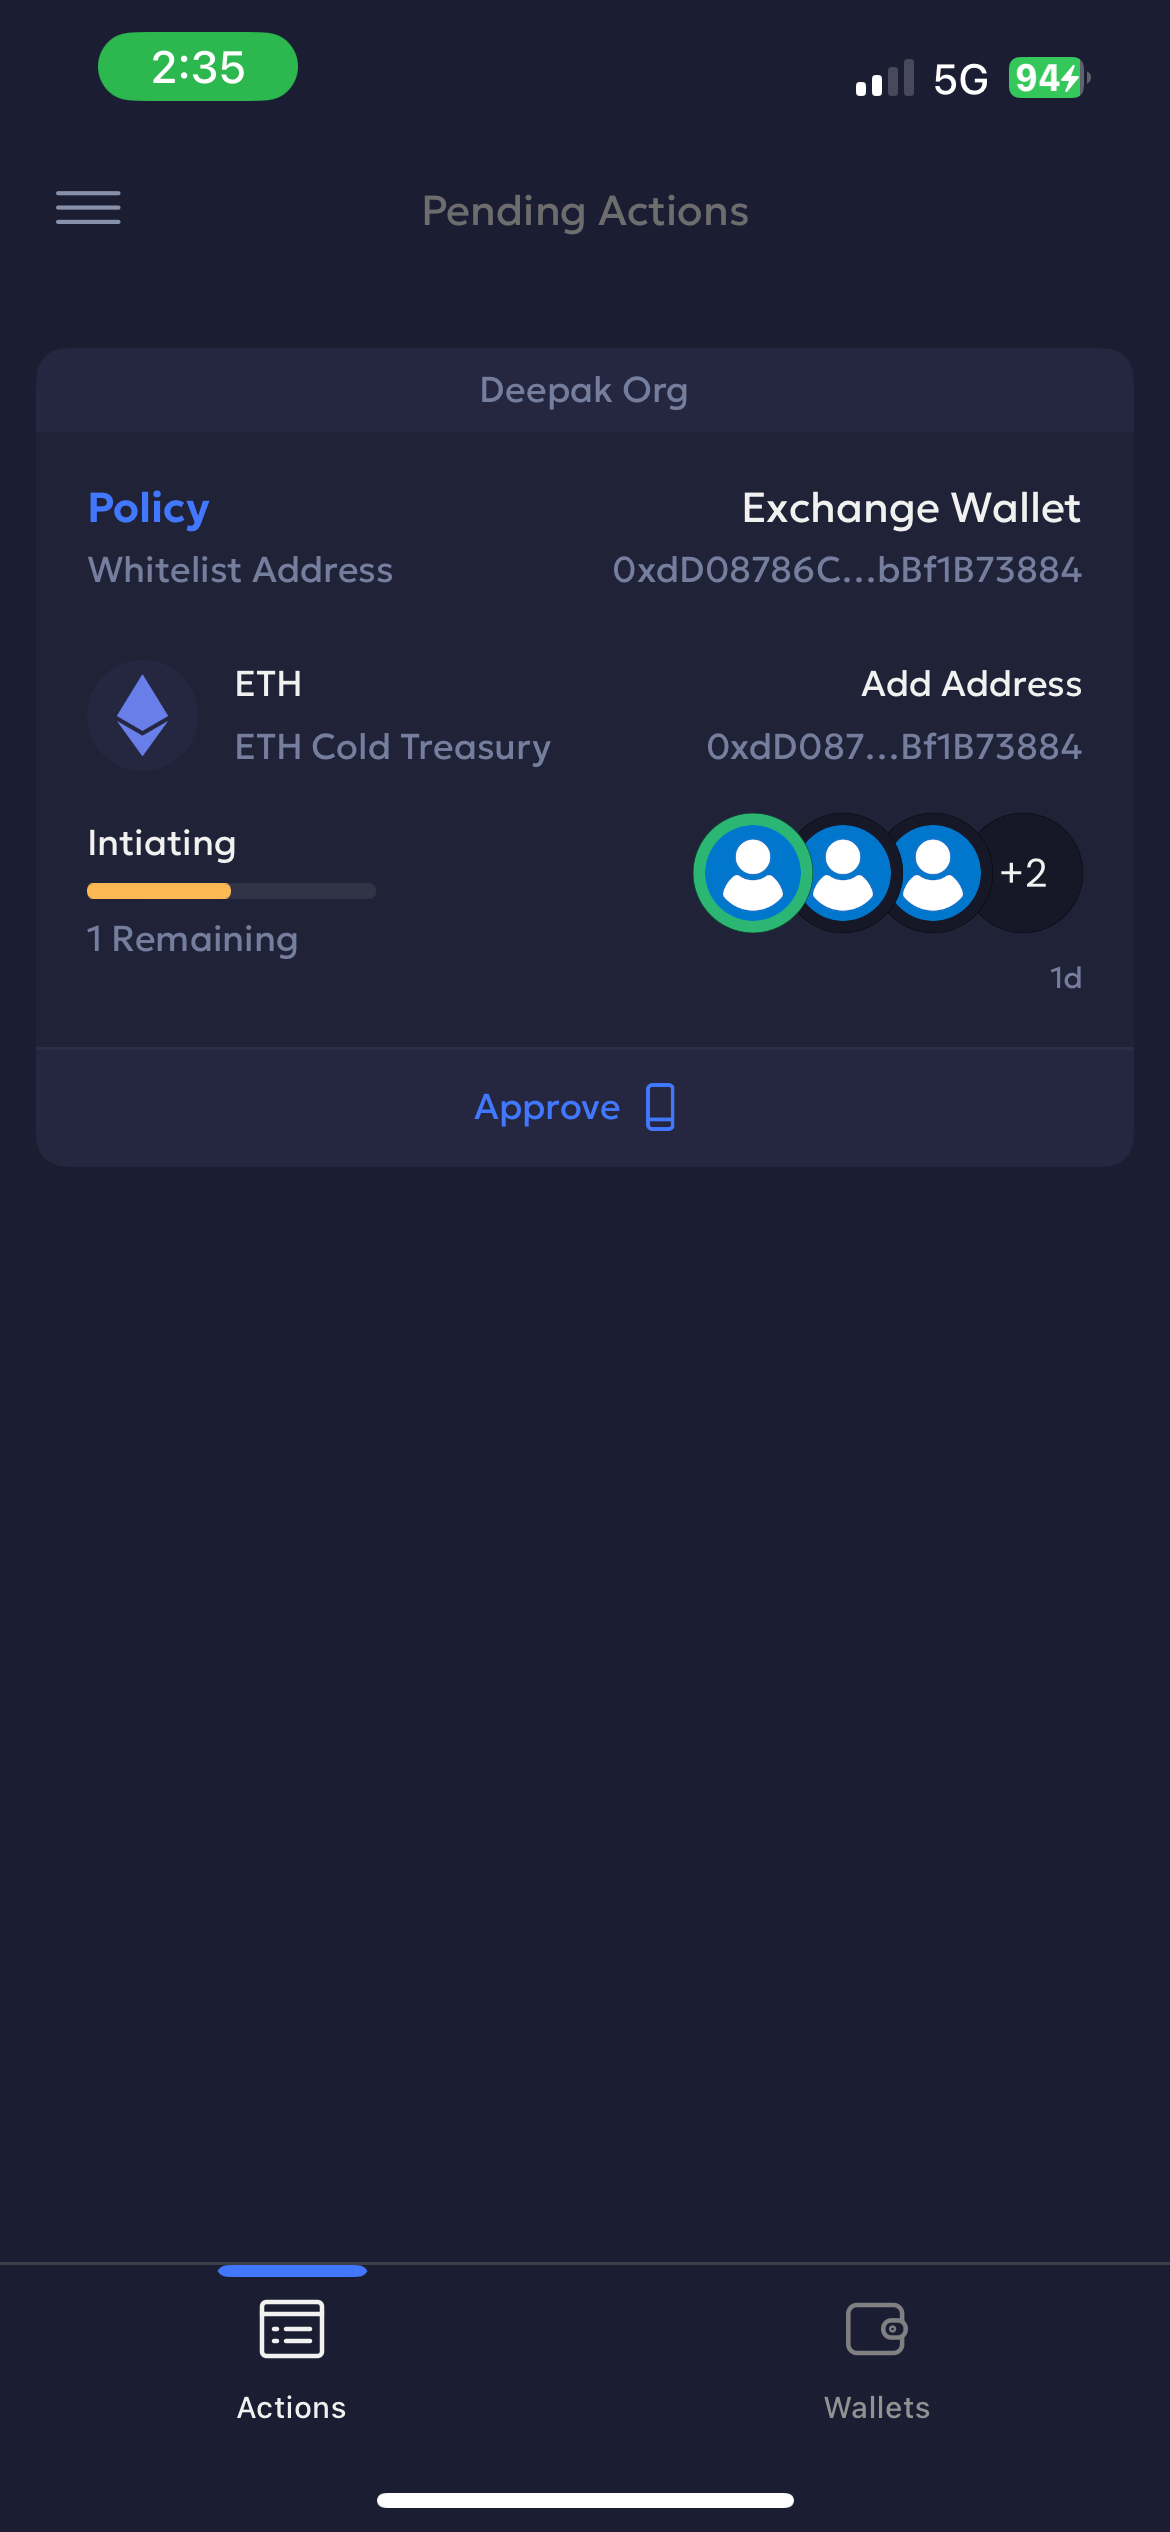
- If you have set the number of minimum approvals for policies > 1, then your wallet quorum will have to approve the whitelisted address from either the Vaults web or mobile app.
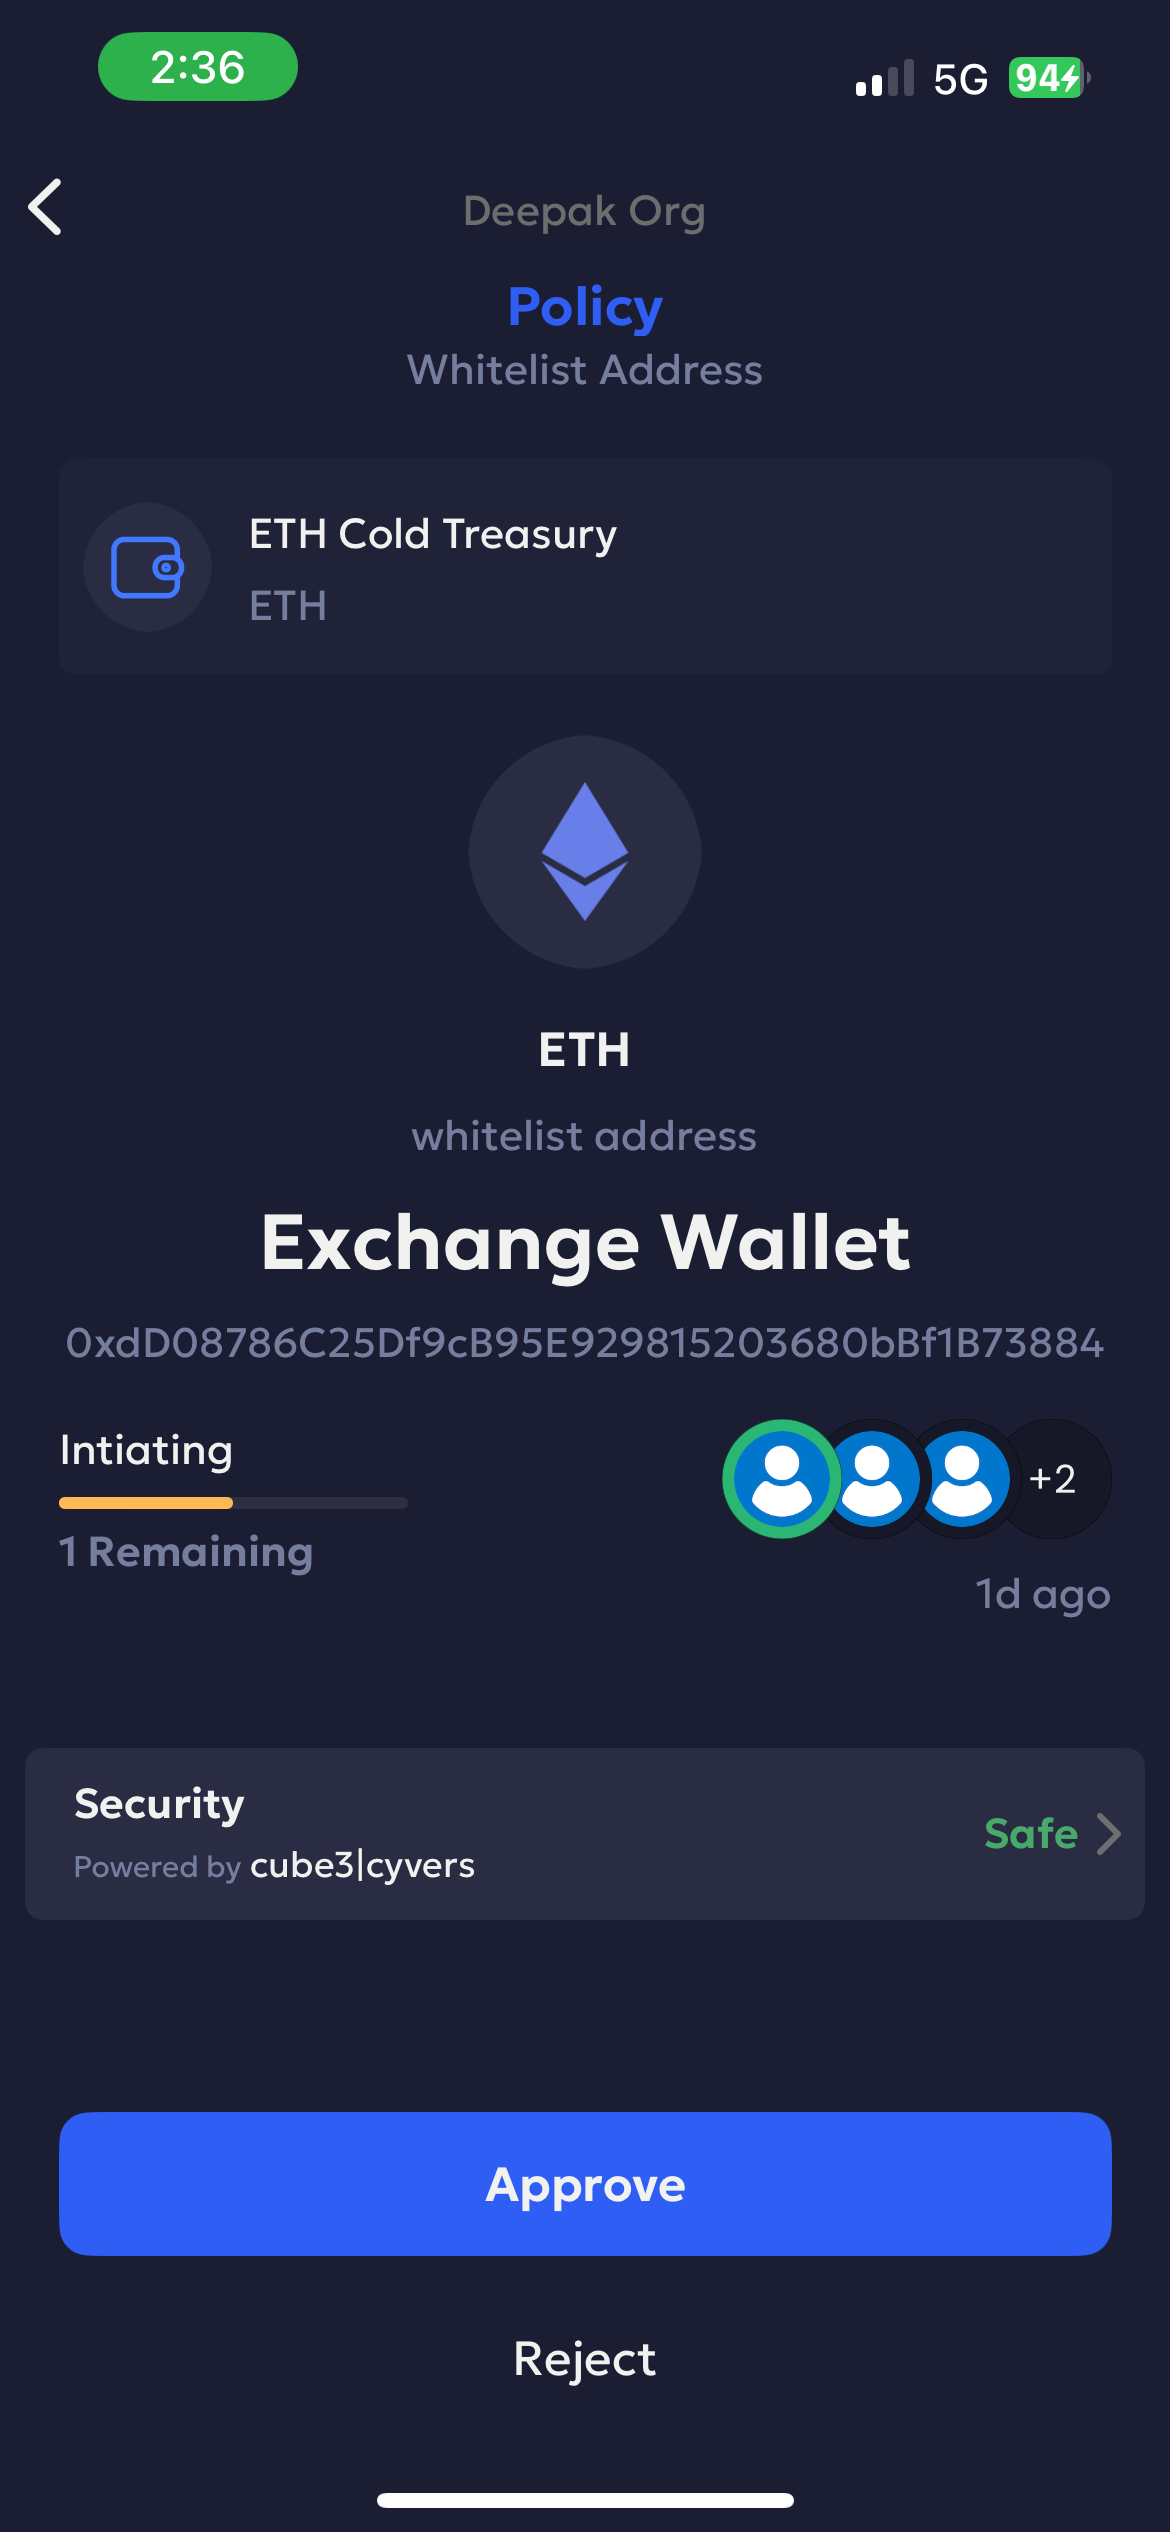
- The wallet quorum can once again view the security screening parameters before approving for the whitelist.
Updated 3 months ago