User roles and teams
Add and manage users and teams in Liminal Vaults.
User roles
In Liminal Vaults, an organisation is a workspace where VASP like exchanges can manage their day-to-day operations on their wallets, transactions, policies, etc. The platform has role-based access control, meaning that depending on the type of role assigned to a user, they will have predefined access and control on the features within the platform.
The owner of the organisation is onboarded first in an organisation, who can further add other users—admins and members to the organisation. All users have their distinct roles and responsibilities to handle various tasks in the organisation. The following table illustrates different types of access and permission allowed for each role. Note that the admin and members can take the applicable actions on the wallets they are associated with.
| Feature | Type of access and permission | Owner | Admin | Member |
|---|---|---|---|---|
| Home > Pending Actions | View and approve pending transactions | ✅ | ✅ | ✅ |
| Home > Pending Actions | View and approve pending policies | ✅ | ✅ | ❌ |
| Wallets > Wallets | Enable, disable, update Autogas refill | ✅ | ✅ | ❌ |
| Wallets > Wallets | Send transactions (for warm MPC and cold multisig wallets) | ✅ | ✅ | ✅ |
| Wallets > Wallets | Receive transactions | ✅ | ✅ | ✅ |
| Wallets > Wallets | Create refill schedule (for cold multisig wallet) | ✅ | ✅ | ❌ |
| Wallets > Wallets | Archive a wallet | ✅ | ❌ | ❌ |
| Wallets > Wallets > Overview | View all assets and balances | ✅ | ✅ | ✅ |
| Wallets > Wallets > Addresses (for deposit wallets) | Search an address in a deposit wallet | ✅ | ✅ | ✅ |
| Wallets > Wallets > History | Download transactions report | ✅ | ✅ | ✅ |
| Wallets > Wallets > Policy | View and search a policy | ✅ | ✅ | ✅ |
| Wallets > Wallets > Policy | Add or remove a policy | ✅ | ✅ | ❌ |
| Wallets > Wallets > Settings | Add users with view access | ✅ | ✅ | ❌ |
| Wallets > Wallets > Settings | Download key card | ✅ | ✅ | ❌ |
| Wallets > Exchange | Search exchange accounts | ✅ | ✅ | ✅ |
| Wallets > Exchange | Create an exchange account | ✅ | ✅ | ❌ |
| Wallets > Exchange | Send and receive transactions | ✅ | ✅ | ✅ |
| Wallets > Refills | View, search, add, approve all refill wallets | ✅ | ✅ | ❌ |
| Wallets > Refills | Push a refill transaction | ✅ | ✅ | ❌ |
| Wallets > Staking | View staking | ✅ | ✅ | ✅ |
| Wallets > Staking | Create a staking account | ✅ | ✅ | ❌ |
| Wallets > Staking | Stake, unstake, and claim rewards | ✅ | ✅ | ❌ |
| Wallets > Staking | Withdraw amount from the staking account | ✅ | ✅ | ❌ |
| Wallets > Gas Station > Balance | View balances | ✅ | ✅ | ✅ |
| Wallets > Gas Station > History | View history | ✅ | ✅ | ✅ |
| Wallets > Gas Station > Rules | View Gas Station rules | ✅ | ✅ | ✅ |
| Wallets > Gas Station | Refill a Gas Station wallet, edit or disable rules of a Gas Station wallet | ✅ | ✅ | ❌ |
| History | View all successful, pending, and rejected transactions | ✅ | ✅ | ✅ |
| History | Download reports | ✅ | ✅ | ✅ |
| Reports > Holding statement | Download holding statement report | ✅ | ✅ | ✅ |
| Reports > Account statement | Download account statement report | ✅ | ✅ | ✅ |
| Reports > Compliance report | Download compliance report | ✅ | ✅ | ❌ |
| Reports > Audit logs | View and filter audit logs using transactions, policies, users, teams, wallets options | ✅ | ✅ | ✅ |
| Reports > Audit logs | Filter audit logs for any user | ✅ | ✅ | ✅ |
| Apps > Notabene, TRM | View and set up all available apps | ✅ | ✅ | ❌ |
| Dev > Configure > Download SDK | Download SDK | ✅ | ✅ | ❌ |
| Dev > API key | Generate and manage API keys | ✅ | ✅ | ❌ |
| Dev > Webhooks | Configure, search, retry, resend, and filter successful and failed webhooks. | ✅ | ✅ | ❌ |
| Dev > Smart Consolidation | View all configured rules and add, remove, and update a Smart Consolidation rule | ✅ | ✅ | ❌ |
| Settings > User Management | View and invite users | ✅ | ✅ | View only |
| Settings > User Management | Invite members and admins | ✅ | Invite members only | ❌ |
| Settings > User Management | View and create teams | ✅ | ✅ | ❌ |
| Settings > User Management | Edit Teams | ✅ | ❌ | ❌ |
| Settings > Policy management | View and add policy rules | ✅ | ✅ | View only |
| Settings > Policy management | Edit minimum approvals (admin quorum) | ✅ | ❌ | ❌ |
| Settings > Policy management | View firewall policies | ✅ | ✅ | ❌ |
| Settings > Wallet key cards | View and download all wallet key cards | ✅ | ✅ | ❌ |
| Settings > Notifications and alerts | View, filter, add, edit, disable, delete, alerts | ✅ | ✅ | ❌ |
| Settings > Compliance | View and set up TRM and Notabene | ✅ | ✅ | ❌ |
| Settings > Security | Search and filter audit logs | ✅ | ✅ | ✅ |
Add users to your organisation
As an owner of your organisation, you can add admins and members to your organisation. And as admins, you can add only members. Adding users with their limited access and permissions in your organisation allows you to divide tasks among different users and manage them conveniently. Refer to the Add users to your organisation guide to add users.
Edit a user role
A user onboarded as an admin or member role can be changed in the organisation. This eliminates the need to create two separate accounts. The owner of the organisation can re-assign roles to users in Liminal Vaults. For example, changing a user with the role of an admin to a member, or vice versa.
Take the following steps to change a user role.
- Log into Vaults.
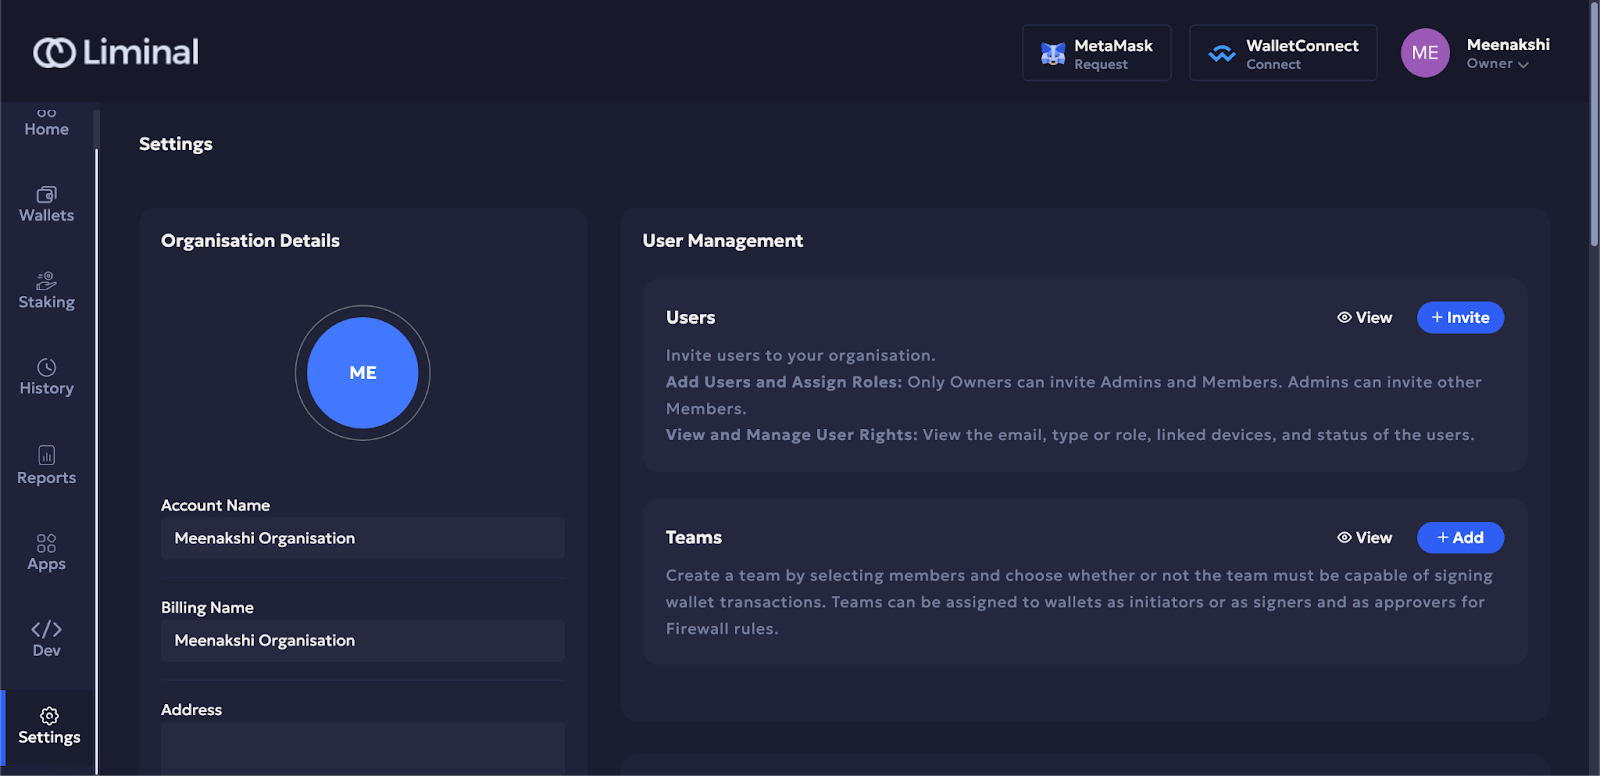
- Go to Settings. Under User Management > Users, select View.
- Select the three dots icon corresponding to the user whose role you want to change.
- Select Mark as Member or Mark as Admin to change the role.

- Enter the code in the field you received in the Google Authenticator mobile app against the credentials with which you have signed into Vaults.
- Select Continue to authenticate yourself.
Teams
A team in a wallet is a group of users who collaboratively manage your wallet transactions. You can create teams of transaction initiators and signers. Transaction initiators are responsible for initiating transactions from a wallet. Transaction signers are responsible for signing the transactions, using the appropriate signing devices like mobile phone for warm MPC wallets and Ledger for cold multisig wallets. You can create teams and then assign them at the time of creating a new wallet.
Note
- All users (owner, admin, member) can be added to a team of transaction initiators and signers.
- A user who has set up their signing devices like mobile phone or Ledger, can be added to the team of signers.
- Users' team roles (initiator or signer) are limited to the wallet assigned to their team. The same user may have a different role in another wallet.
Create a team of users
An owner or admin of your organisation, you can set up teams of users (owner, admins, members) who can initiate or sign transactions from warm MPC wallets. Refer to the Create a team of initiators to create an initiator team. Refer to the Create a team of signers to create a signer team.
Once done, you can assign the team while creating new warm MPC wallets.
Edit users in a team
As an owner of your organisation, you can edit the members of a team. A team is assigned one-time at the time of creating new wallets. With the ability to edit members of a team, you can update users in a team that is already assigned to the existing wallets. You can also view all the associated wallets and the preconfigured minimum number of users for each wallet.
As an owner, take the following steps to edit users in a team.
- Log into Vaults.
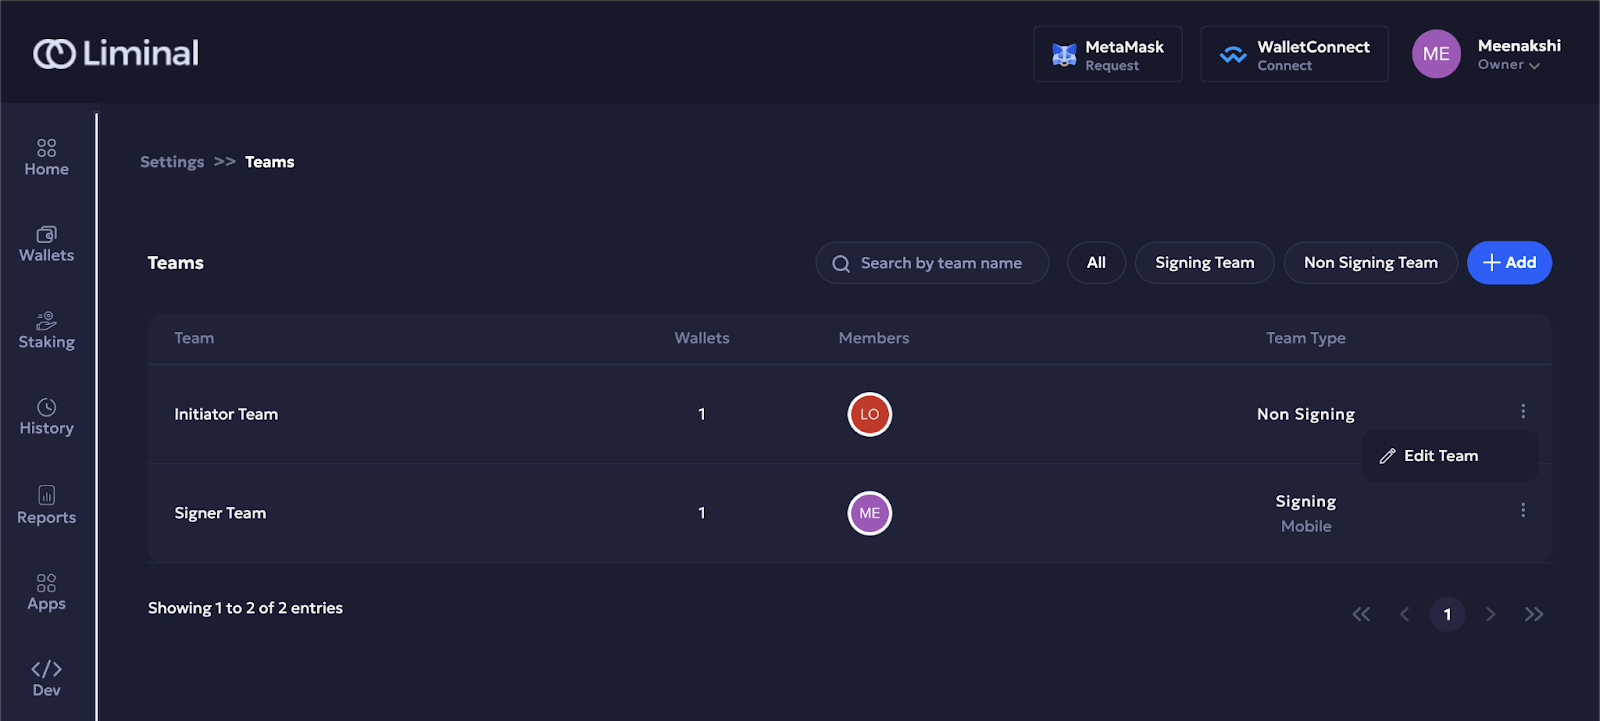
- Go to Settings > User Management > Teams. Then select View.
- Select the three dots icon for a team and then select Edit Team.
- You can add or remove users from the team.
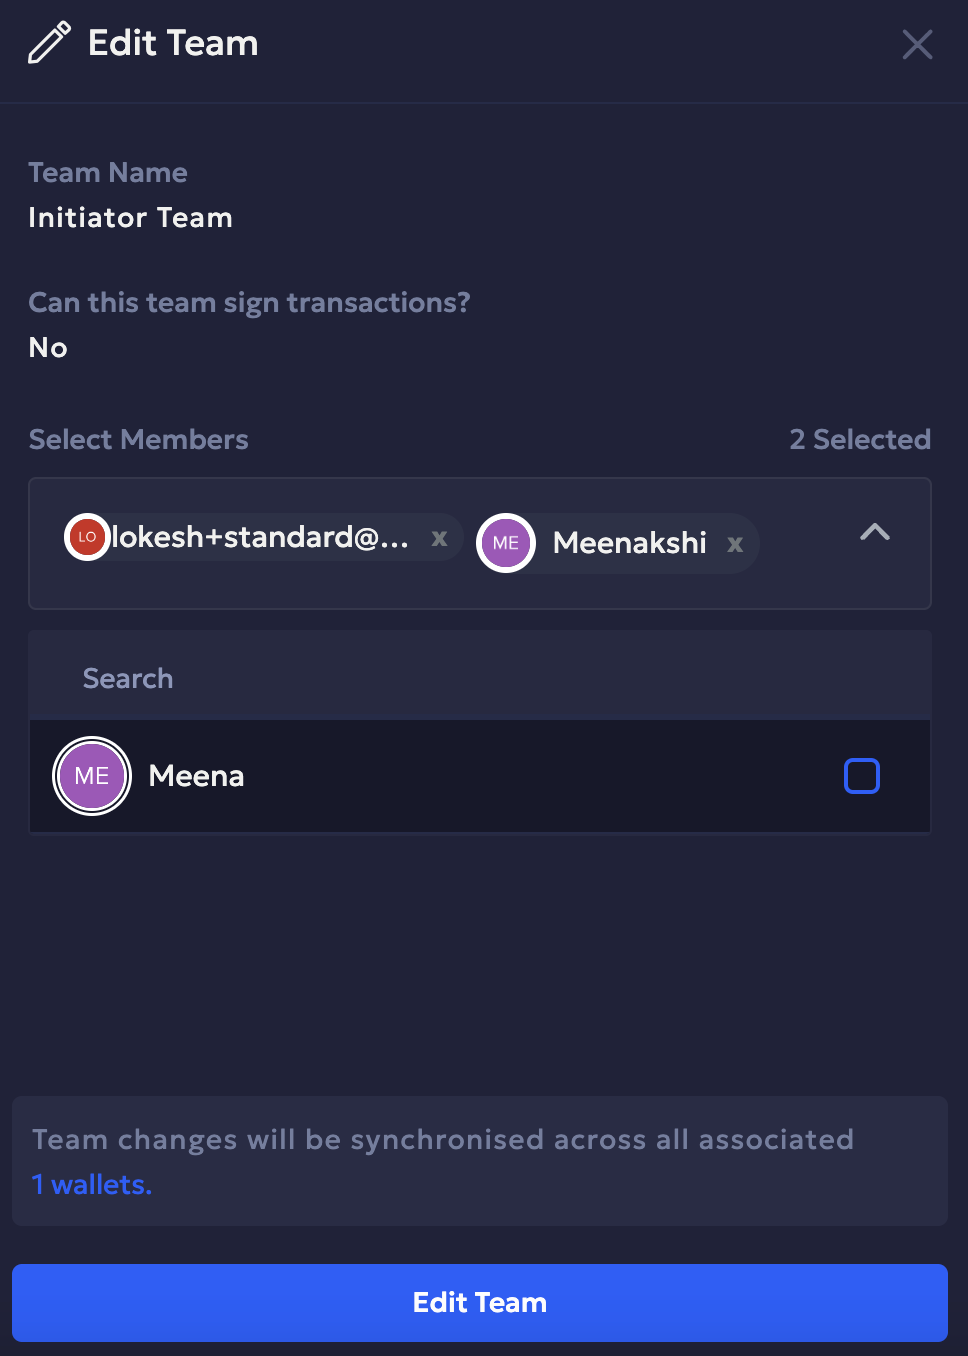
- Select Edit Team to confirm the changes.
Note
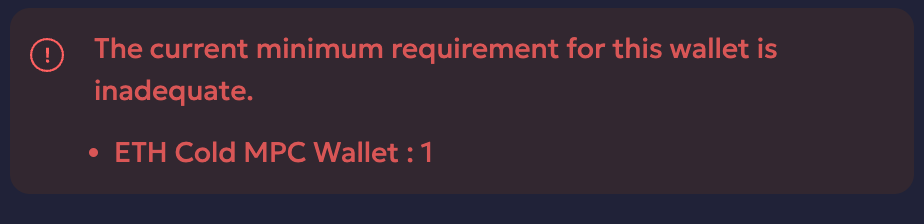
- You will receive an alert in case the number of users are inadequate in any wallet as per its configuration, as shown in the following screenshot.
- Deleting a team is not currently supported in Liminal Vaults.
Updated 2 months ago